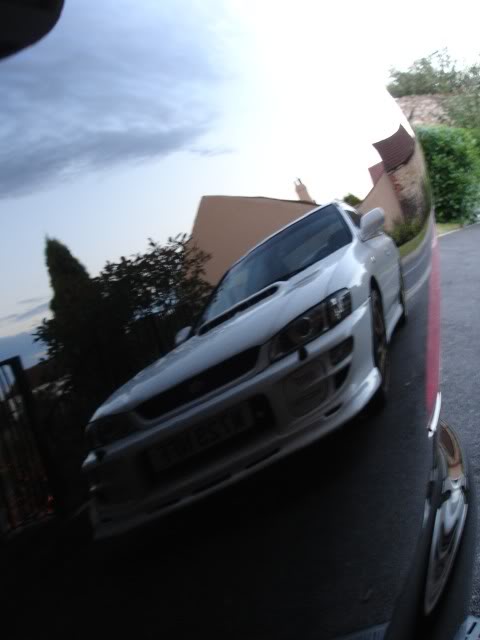
Many of you own second hand cars, and many of you enthusiasts wish there car looked as new. Removing the layers of grime, and scratches that built up throughout the years on the car is possible and is the time intensive job of of a detailer as can be seen by Spyco Shines. If you have the patience and time you can attempt detailing your car and bring it back shining like new. The process was done by a Subaru Enthusiasts (username: Schumacher) and took him 2 weeks to complete.
Tools and Products Used:
- Wire Wool
- Meguiars NXT Generation All Metal Polysh
- Black Paint
- Meguiars Shampoo Plus and Meguiars Hyper Wash
- Lambswool Wash Mitt
- Meguiars Shampoo Plus
- Meguiars Speed Detailer
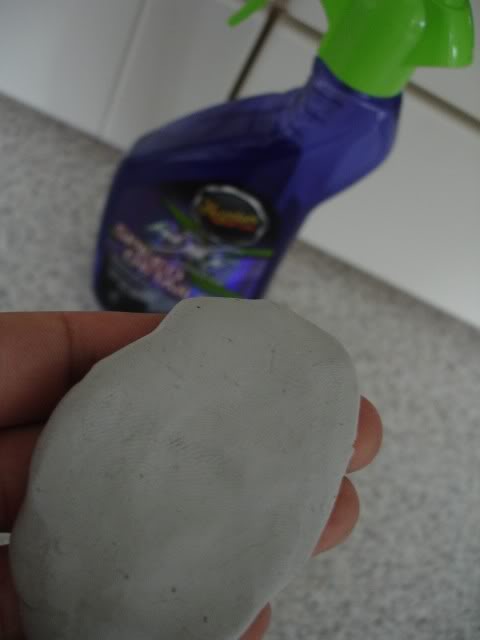
- Clay Bar
- Poorboys Waffle Weave Towel
- Meguiars Super Degreaser
- Meguiars All Season Dressing
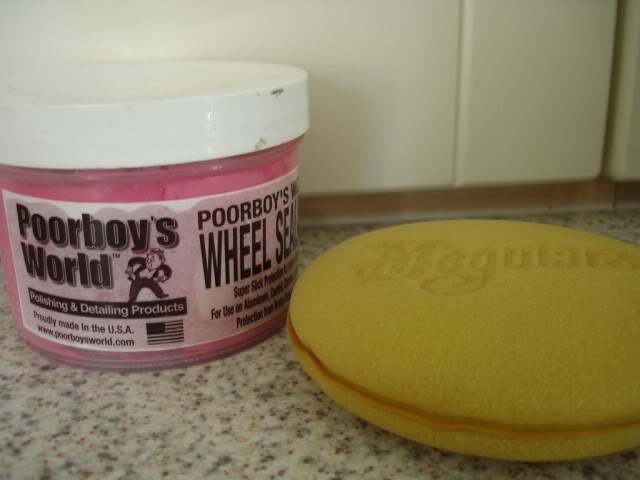
- Poorboys Wheel Sealant
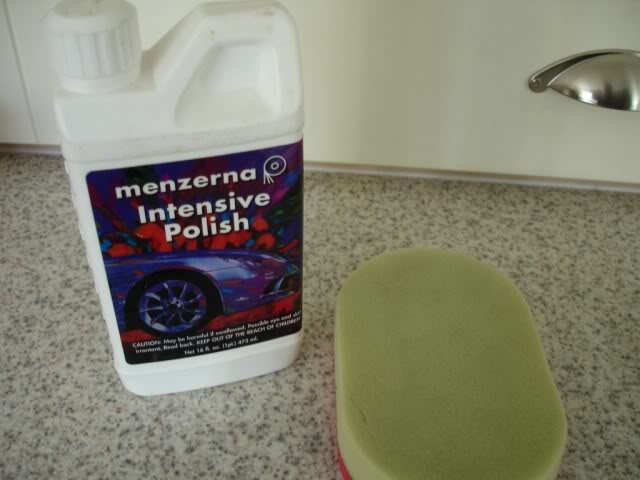
- Menzerna Intensive Polish
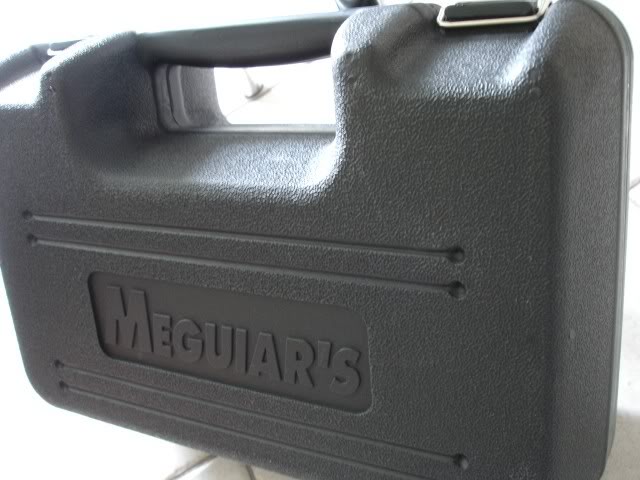
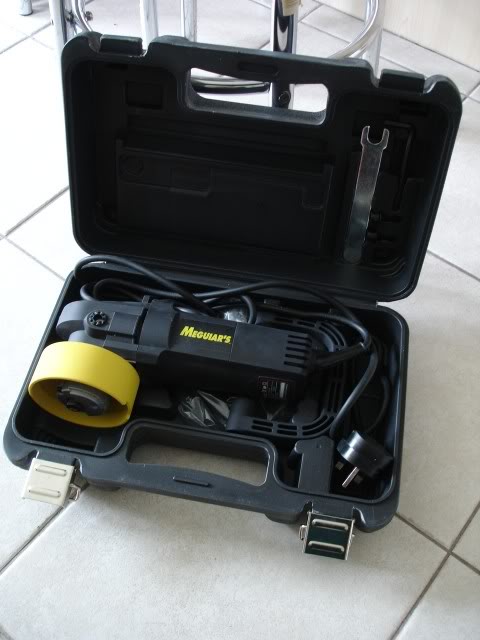
- Meguiars G220 polisher
- Poorboys Super Thick & Plush Towels
- Masking Tape
- 303 Aerospace Protectant
- Blackfire Gloss Enhancing Polish
- German Applicator Pad
- Poorboys Deluxe Mega Towels
- Gloss Enhancing Polish
- Blackfire Gloss Enhancing Polish
- Blackfire Wet Diamond All Finish Paint Protection
- 303 Aerospace Protectant
- CarPlan 'Wet Look' Tyre Slik
- Meguiars padMeguiars NXT Glass Cleaner
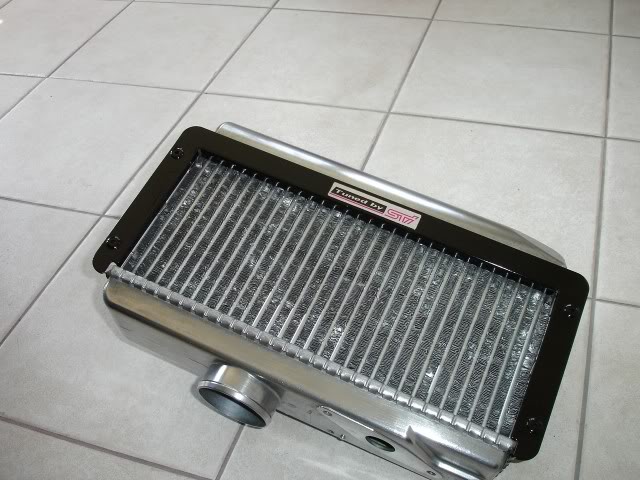
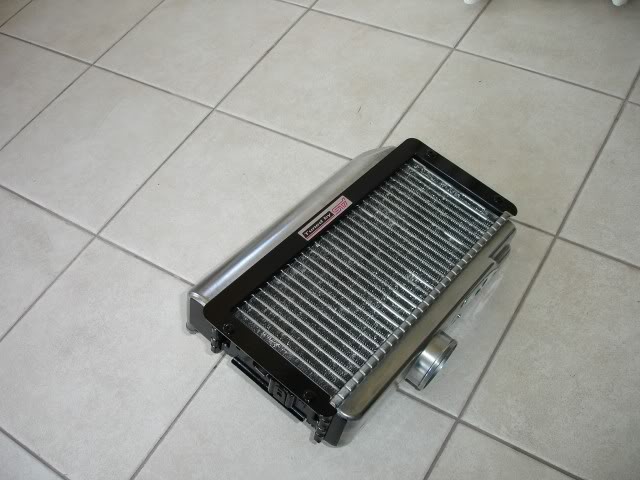
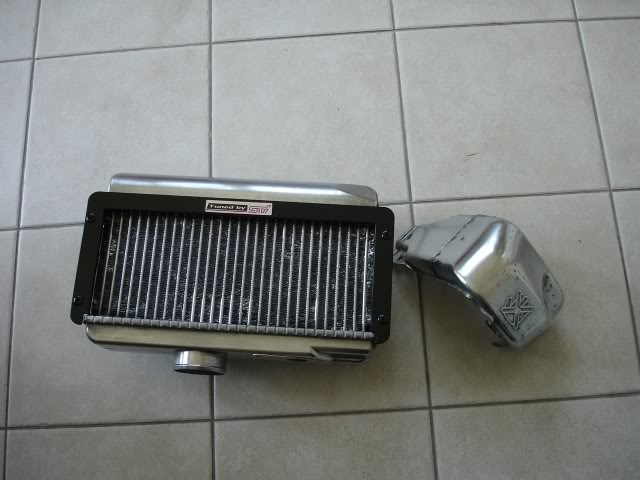
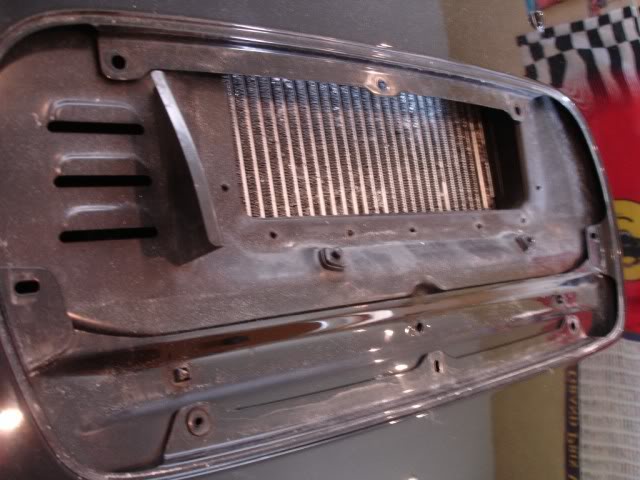
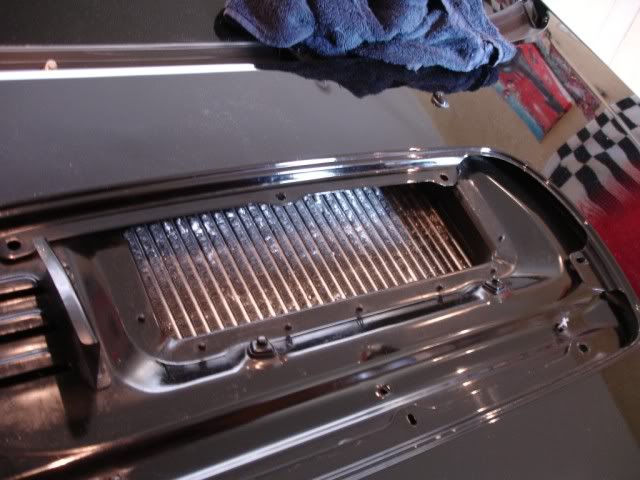
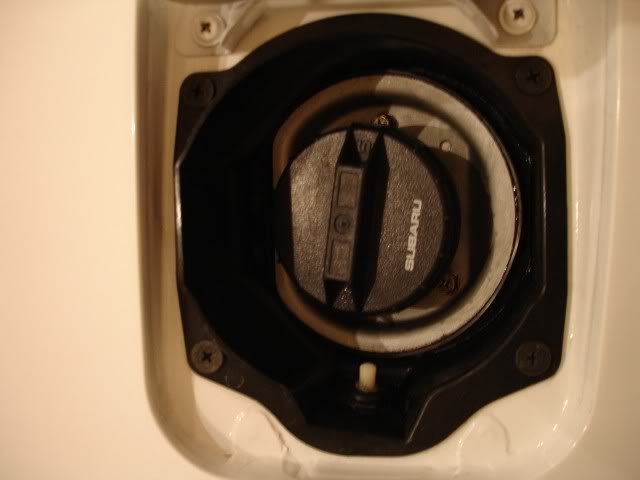
Lets start with the intercooler by removing the non factory branding. Here's what it looked like before:
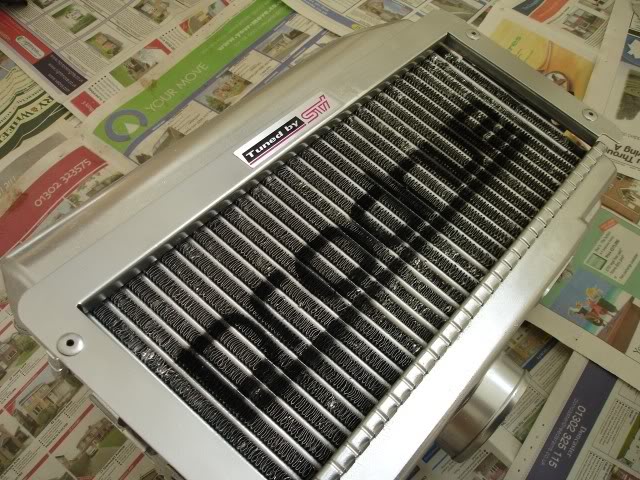
No photos of the 'damage' done to it but I then set about refurbing it, using wire wool along with Meguiars NXT Generation All Metal Polysh. Also sprayed some sections black for something different and cleaned up my turbo heat shield:
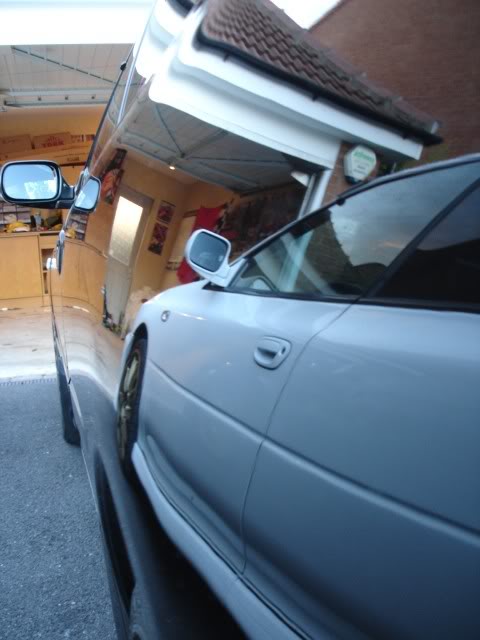
That out of the way, time to move on to washing the car. No photos of before as there wasn't really much to show apart from rain spots. Firstly, it was pressure washed and then came the snow foam (Meguiars Shampoo Plus and Meguiars Hyper Wash).
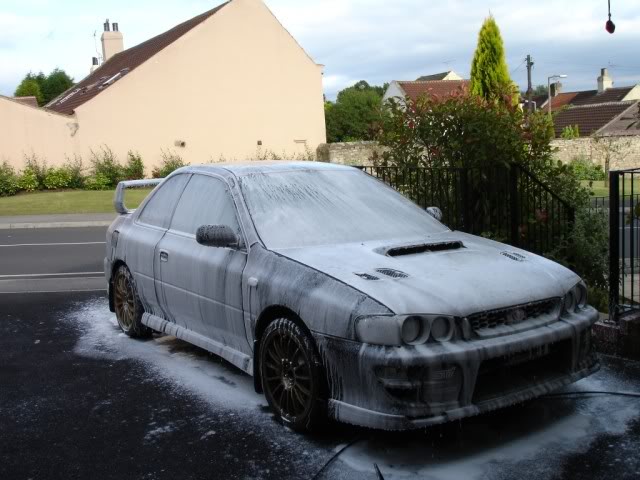
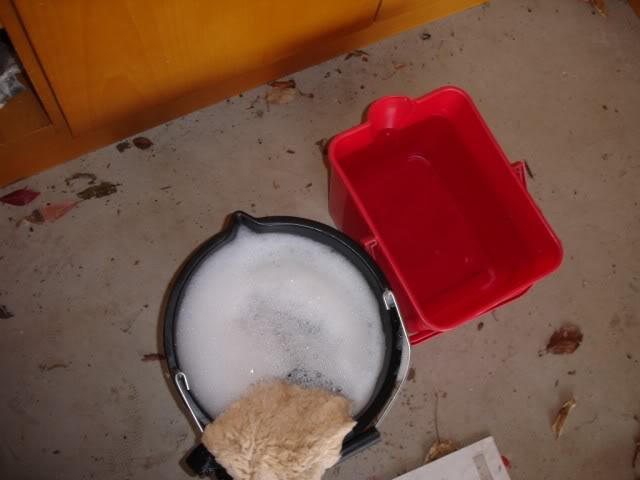
This was left to dwell for around 10 mins while I chilled out. Note that I tried to avoid the wheels. Pressure washed again and then washed using the 2 bucket method using a Lambswool Wash Mitt and Meguiars Shampoo Plus.
While still wet, I sprayed on Meguiars Speed Detailer and treated the car with a clay bar. Wasn't bad at all since being done over a year ago:
Car was then washed again, as previously, then sprayed with the Speed Detailer again to aid drying using a Poorboys Waffle Weave Towel.
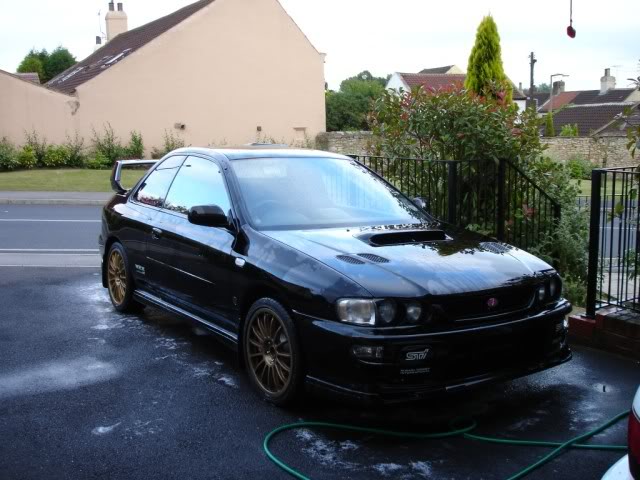
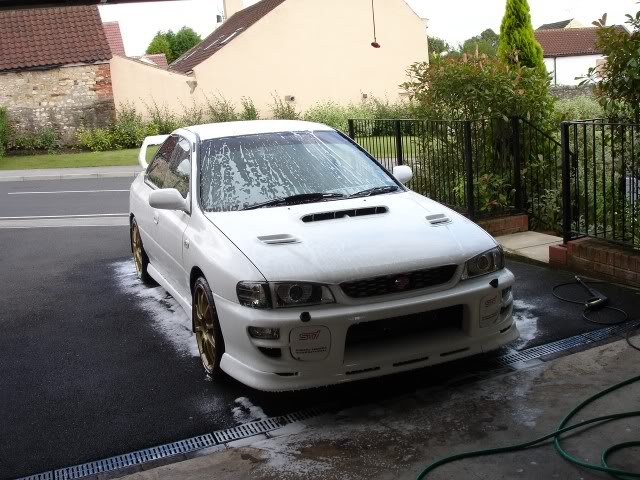
Here's the car after washing:

Doesn't look too bad, eh?
Anyway, it was then covered and I packed up, ready to return to it the next day.
Next up were the wheels and arches.

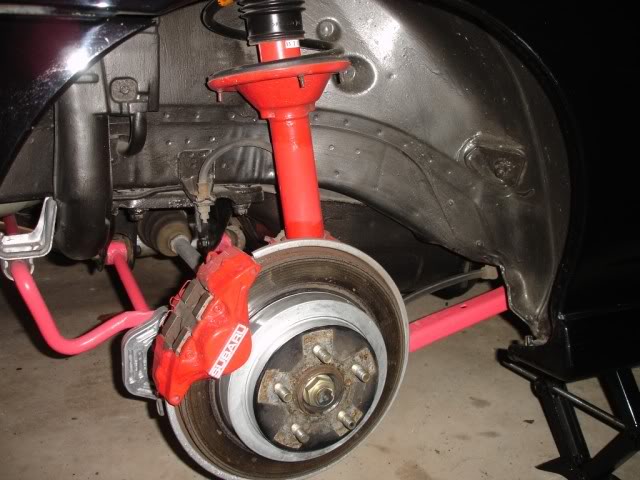
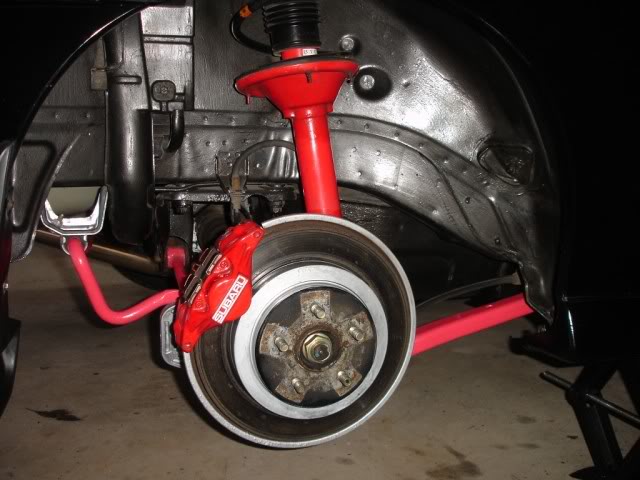
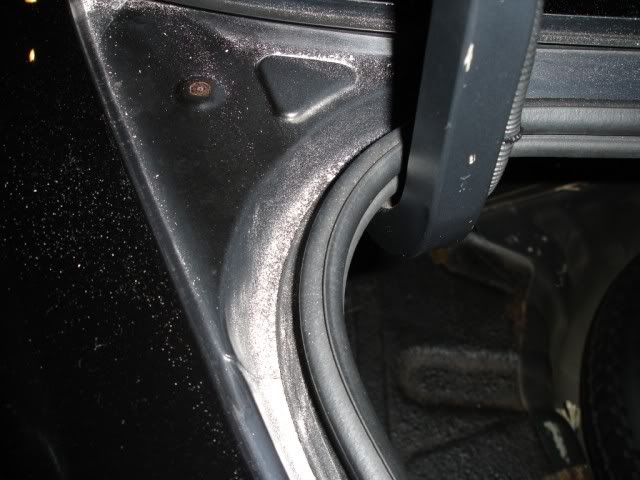
Took all the wheels off and placed the car on axles stands. Arches were then cleaned with Meguiars Super Degreaser and dressed with Meguiars All Season Dressing.
O/S/F before:
After:

O/S/R before:
After:
Not sure what happened to the photos of the N/S/R arch, but I'm thinking I just forgot to take any!
N/S/F before:
After:
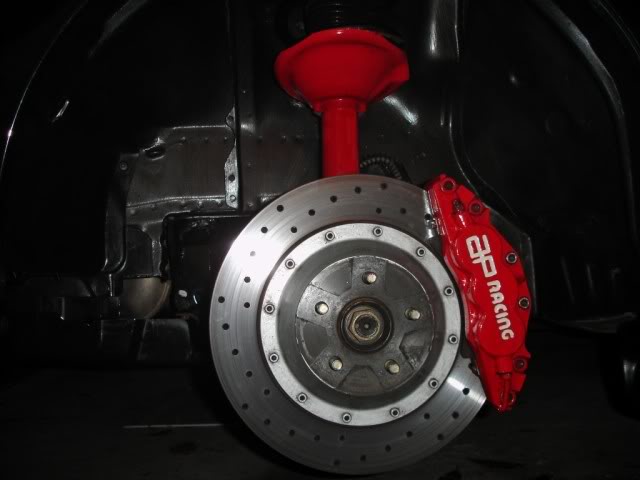
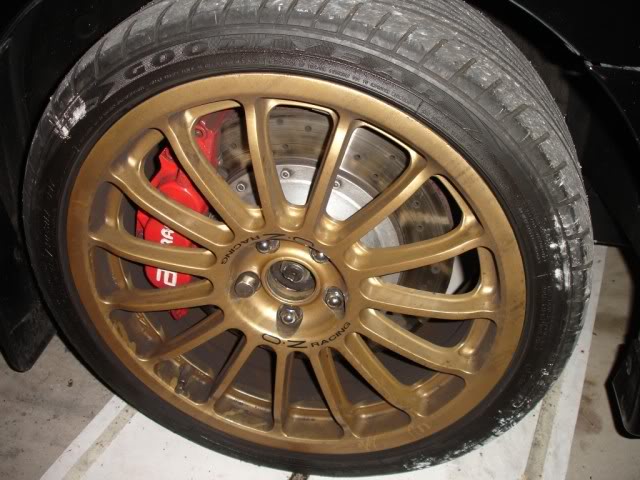
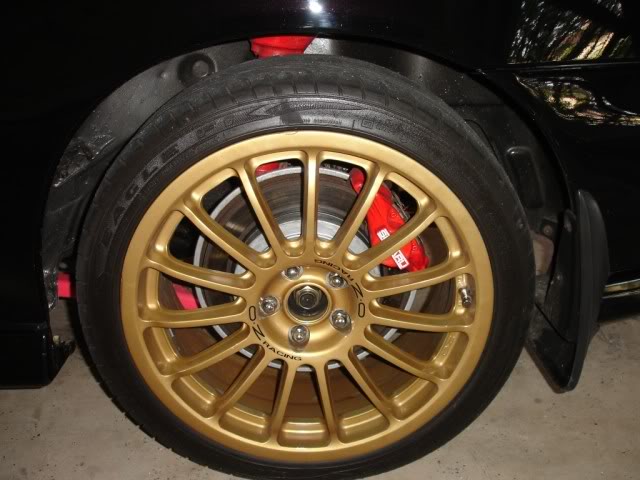
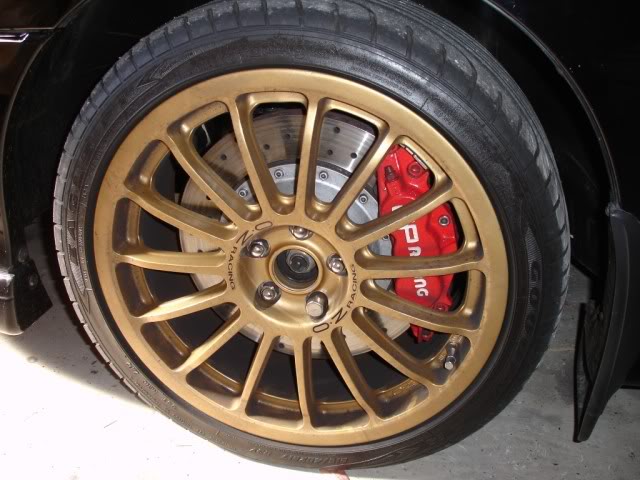
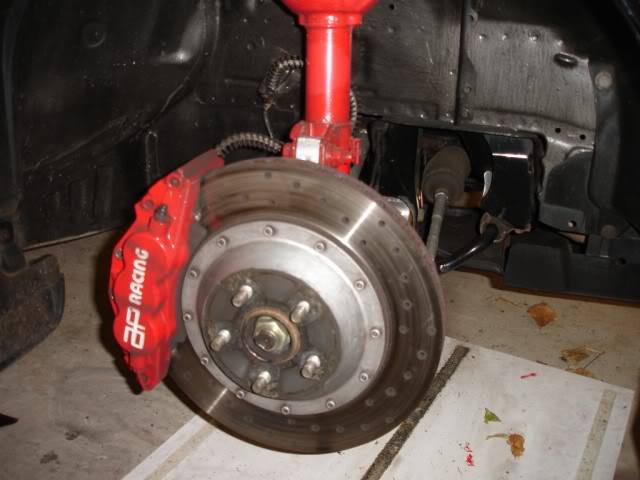
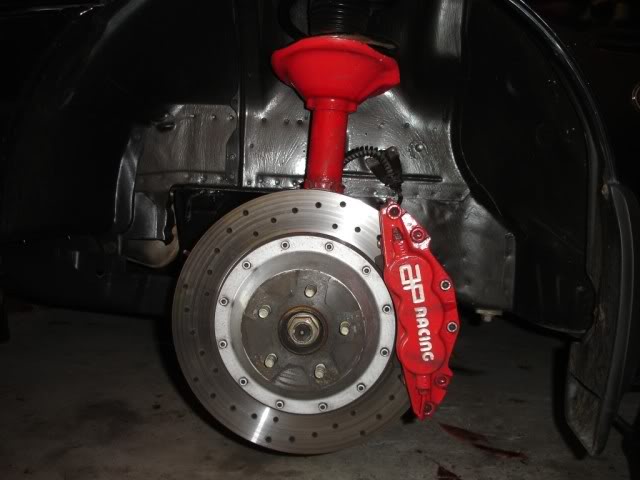
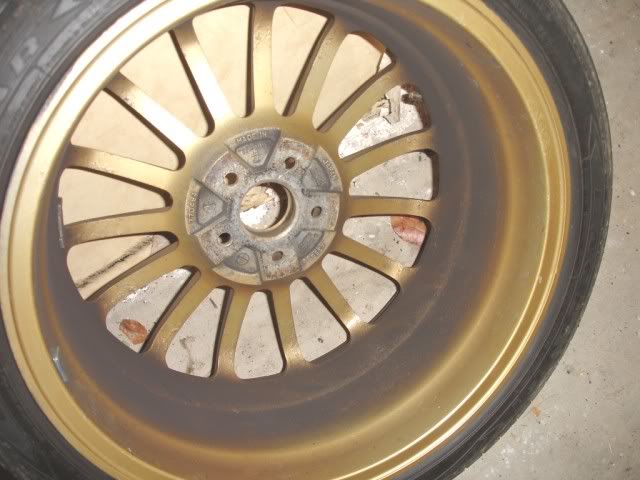
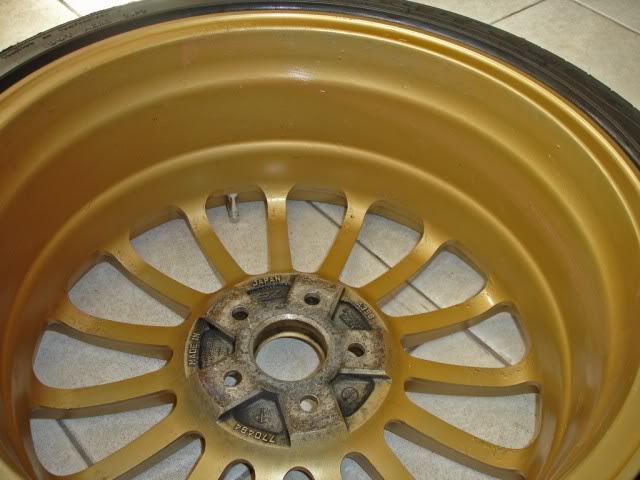
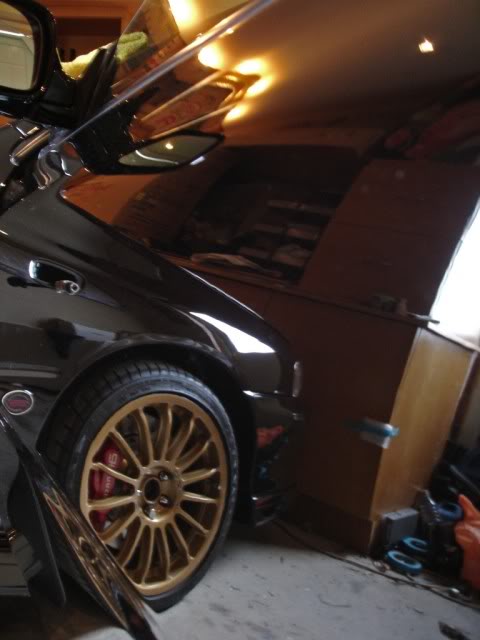
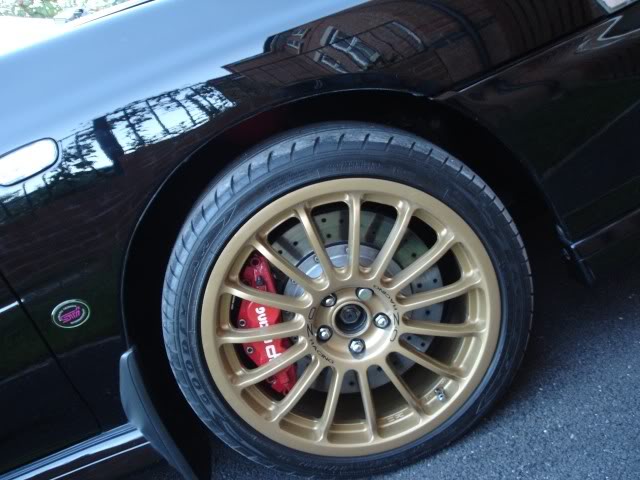
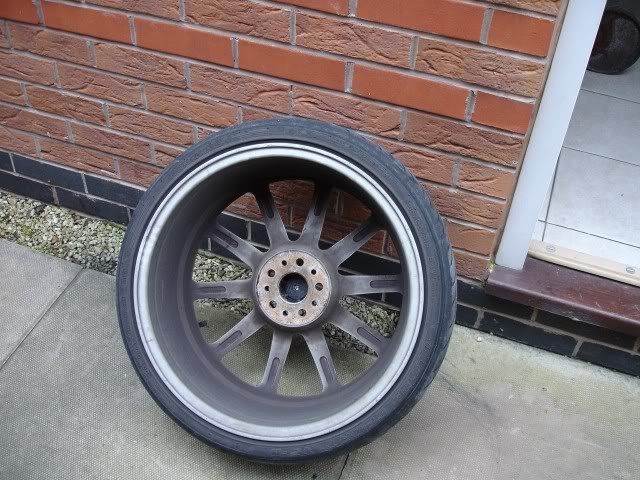
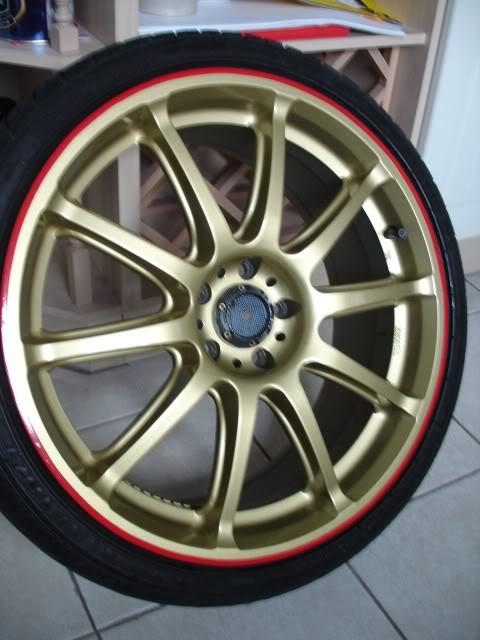
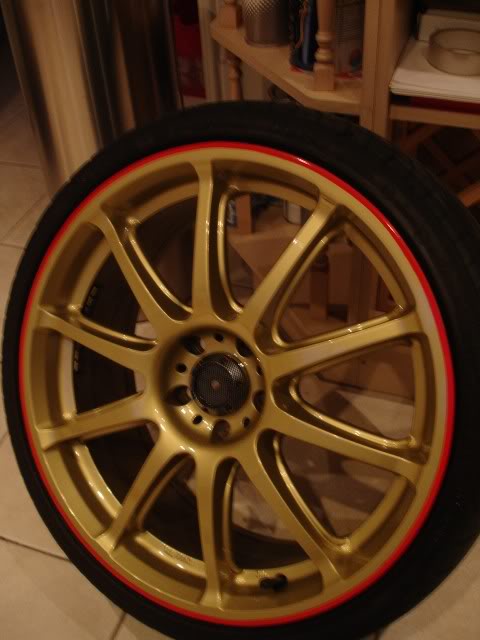
Then came the wheels. They were caked in brake dust due to by AP 6 pots:
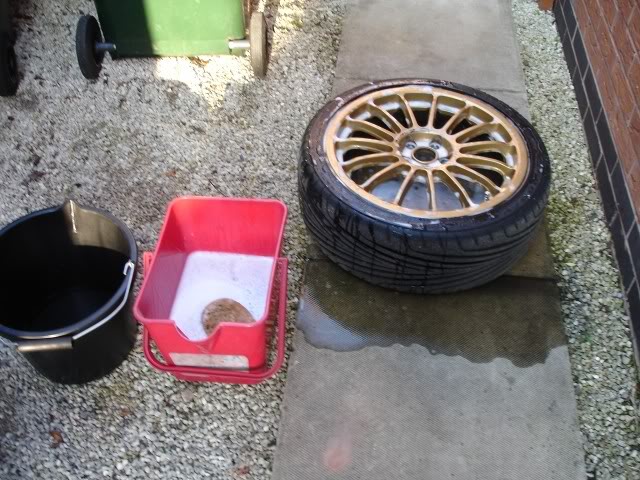
All four then washed using the 2 bucket method:
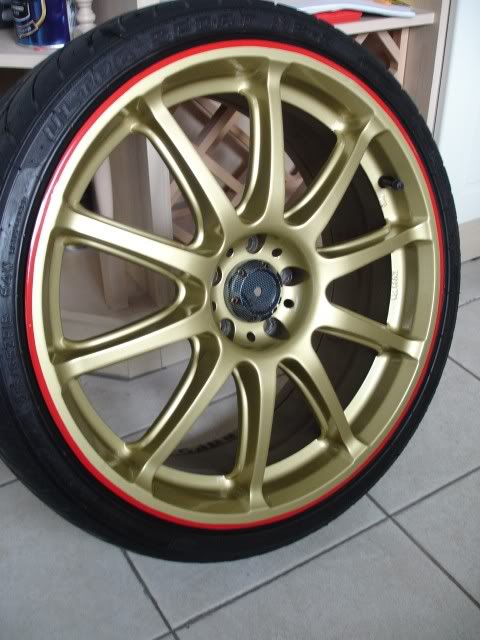
And then finished with 3 coats of Poorboys Wheel Sealant:
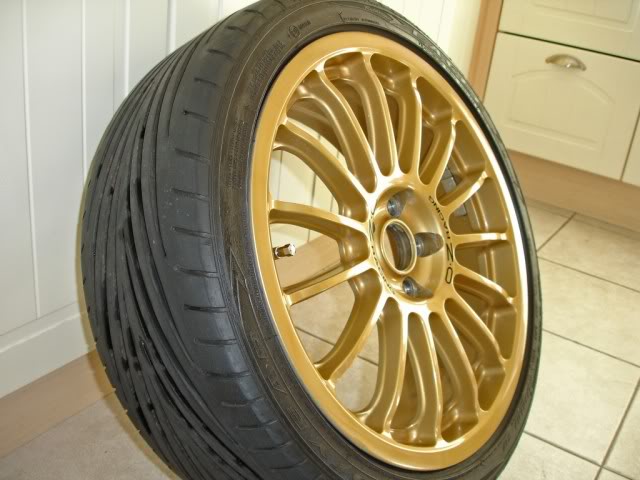
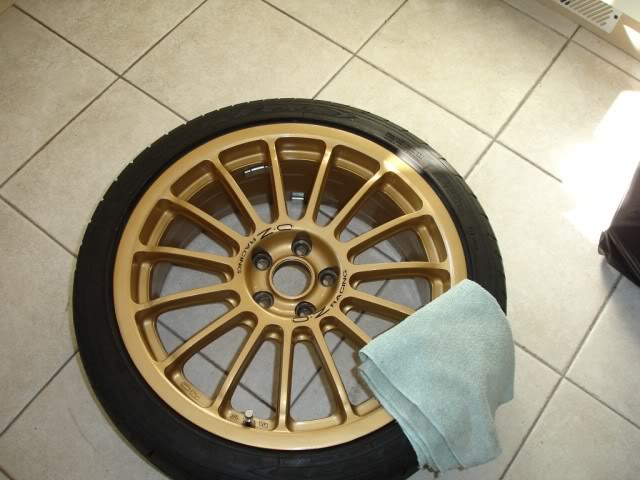
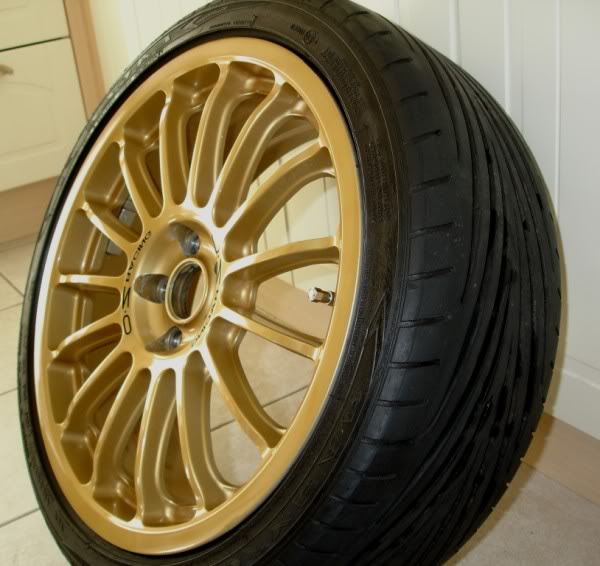
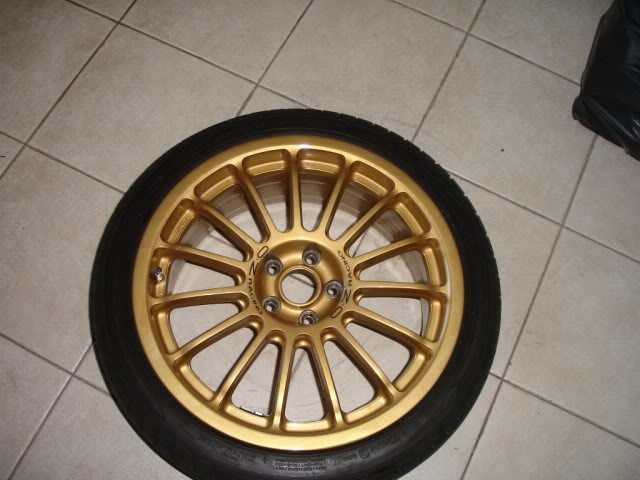
Wheels were then put back on and it was time to start the correction.
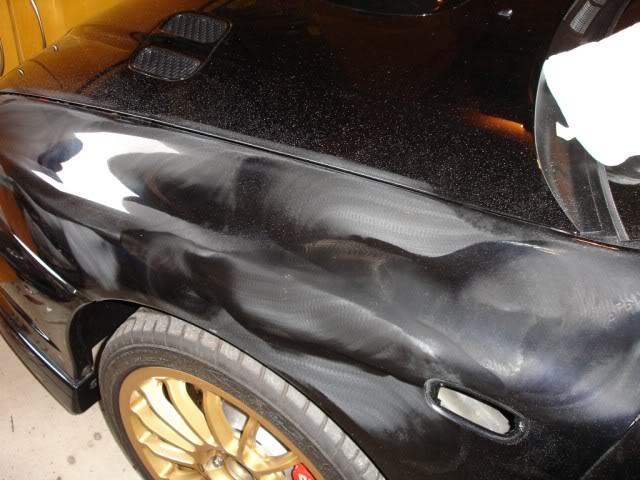
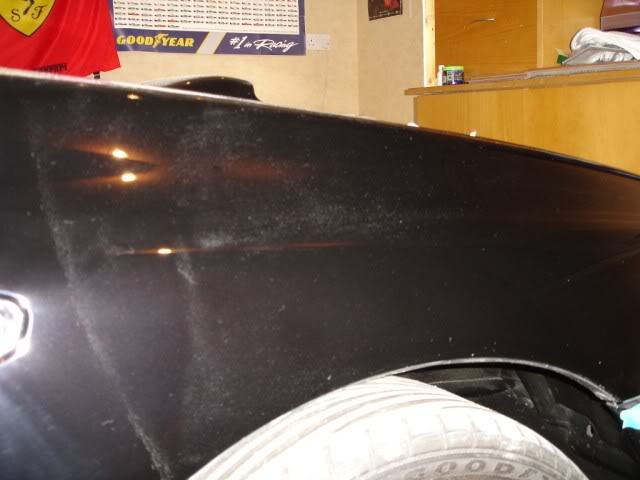
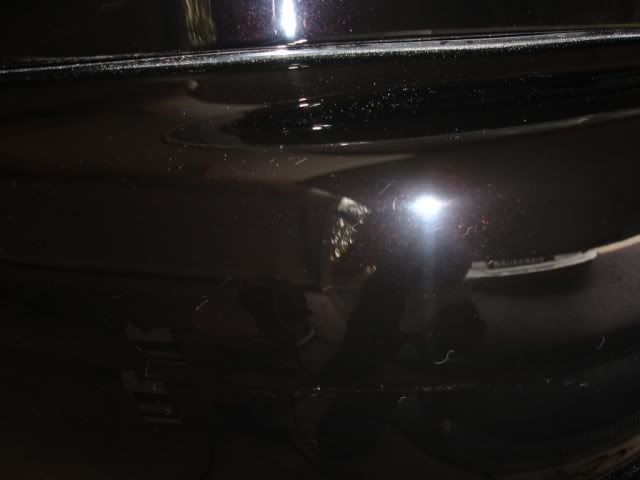
The defects:
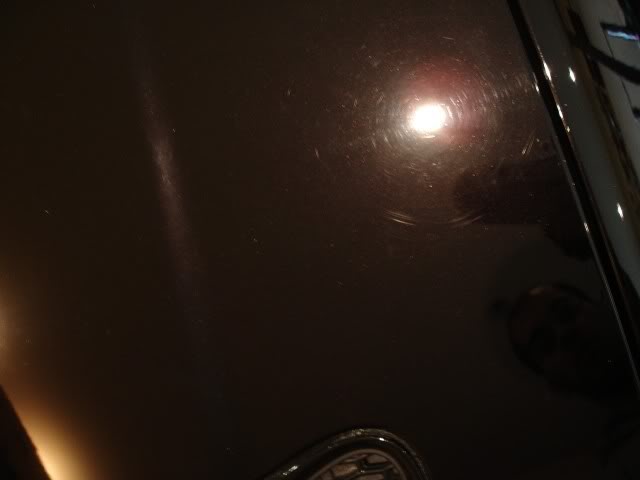
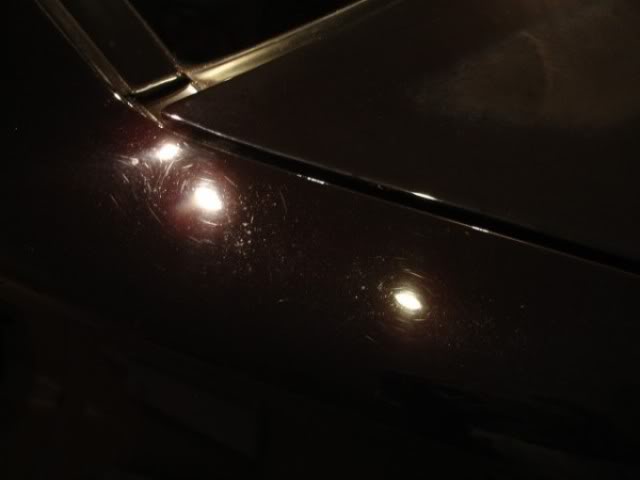
I set about correcting the car with Menzerna Intensive Polish and a Meguiars G220 polisher and buffing off with Poorboys Super Thick & Plush Towels:
Car was then taped up with masking tape and I got going:
During:
After:
The residue being left was crazy but I had to put up with it...
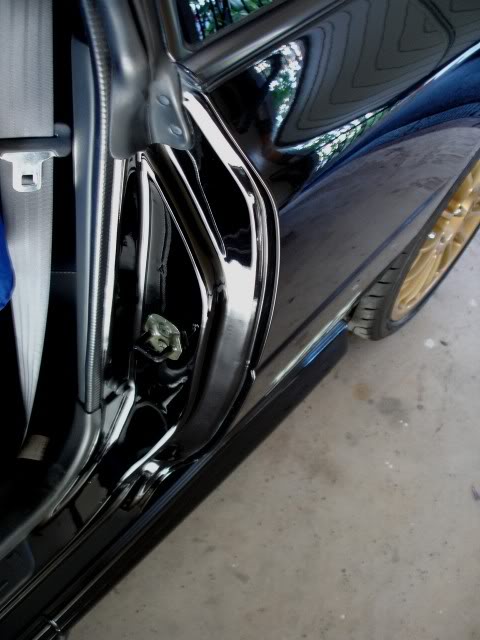
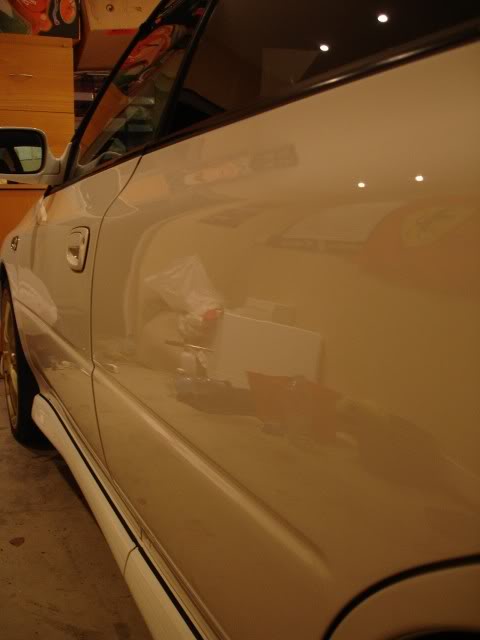
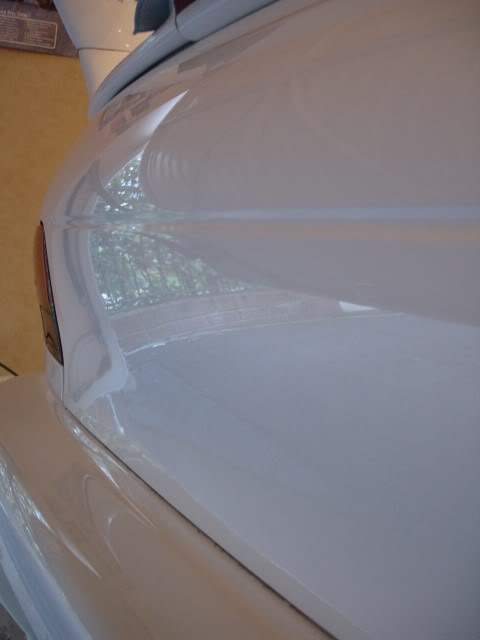
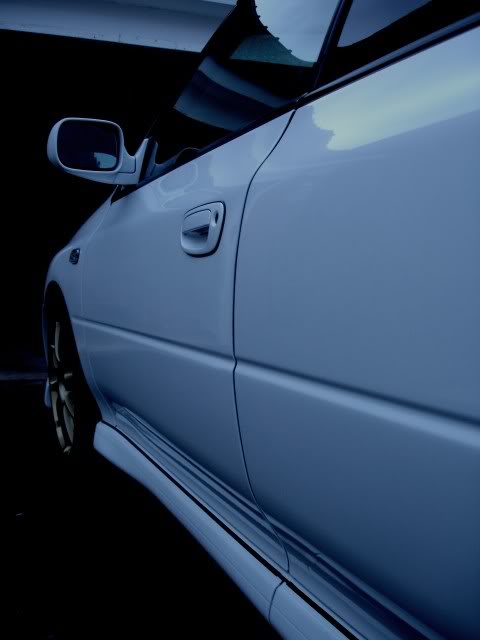
N/S door before:
During:
After:
And rear quarter:
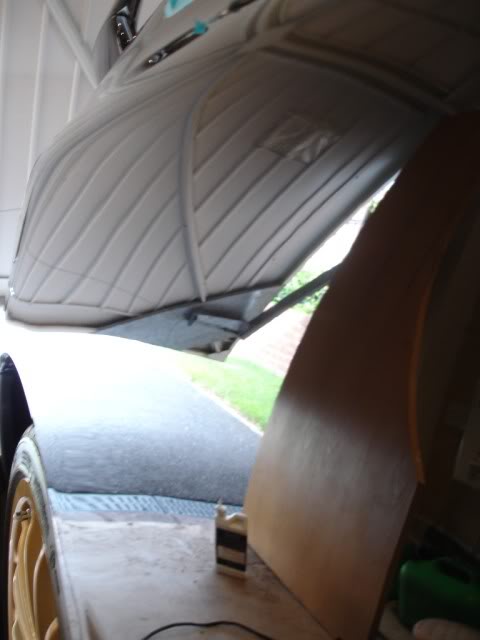
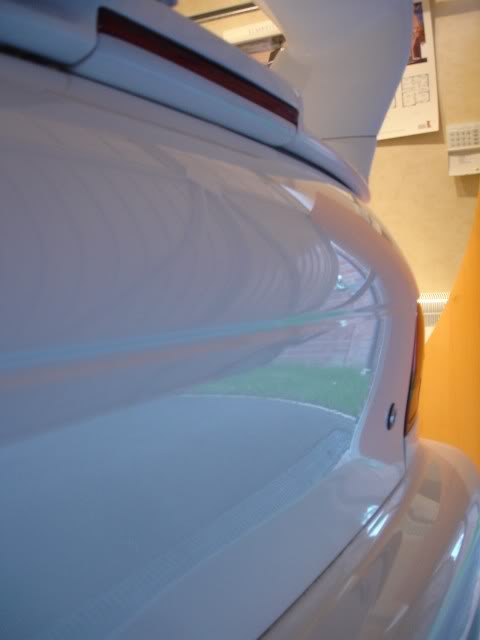
Moving on to the trunk lid...
Before:
After:

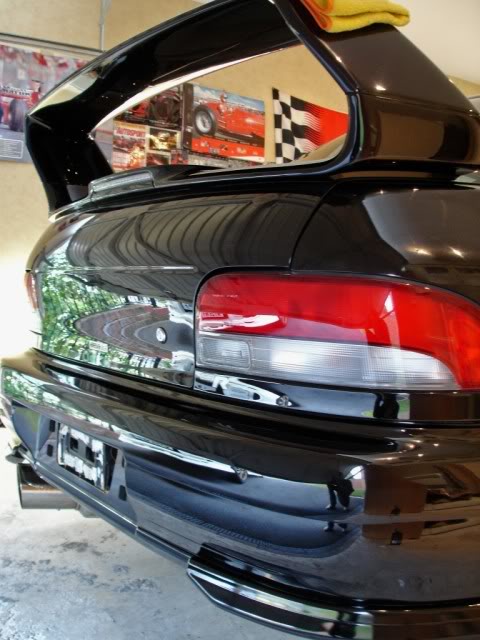
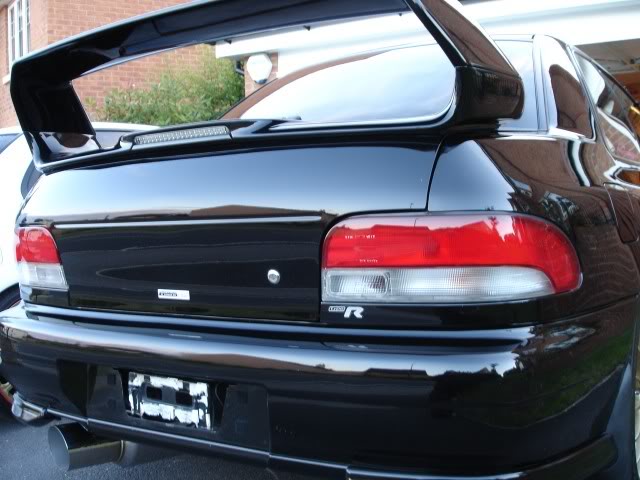
Rear tail lights and bumper before:
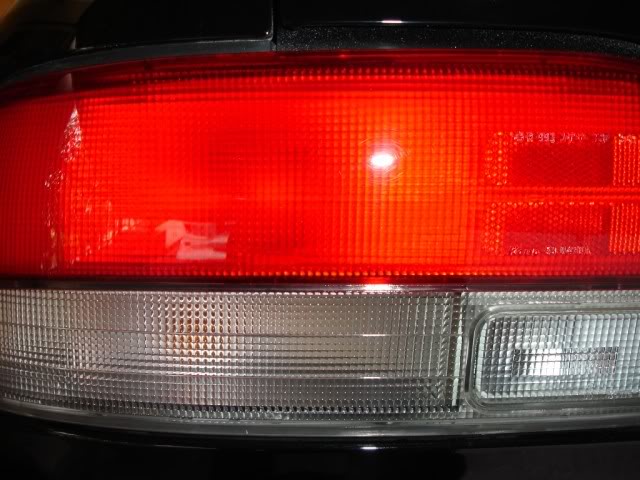
and after:

O/S rear quarter before:
After:
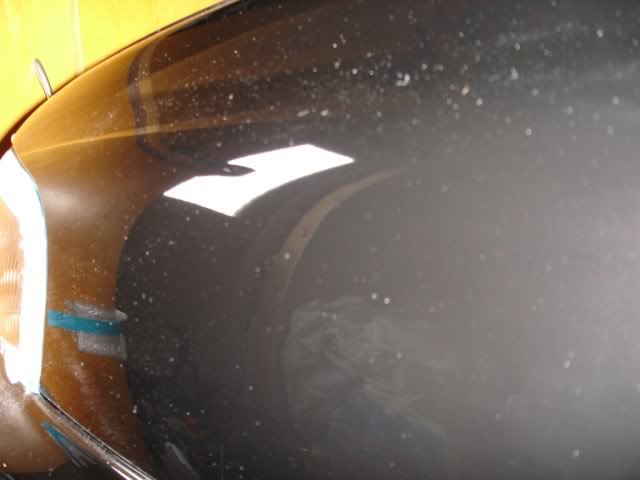
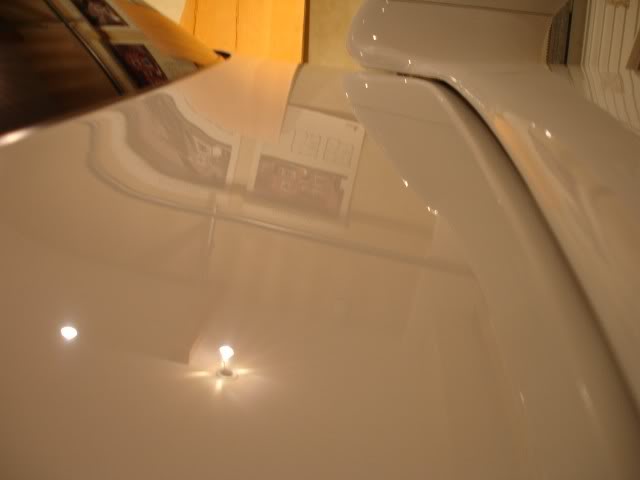
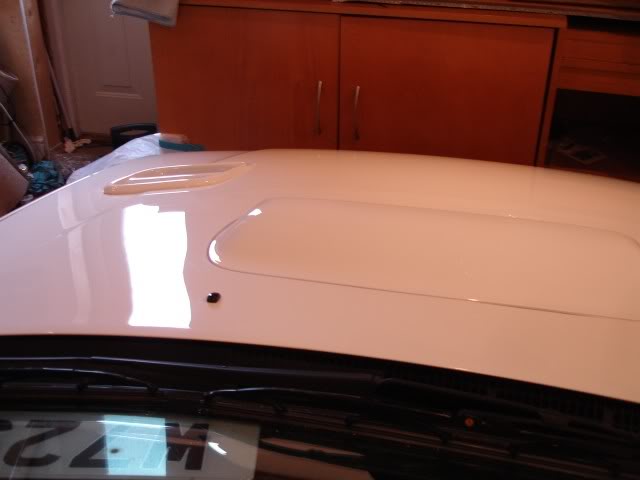
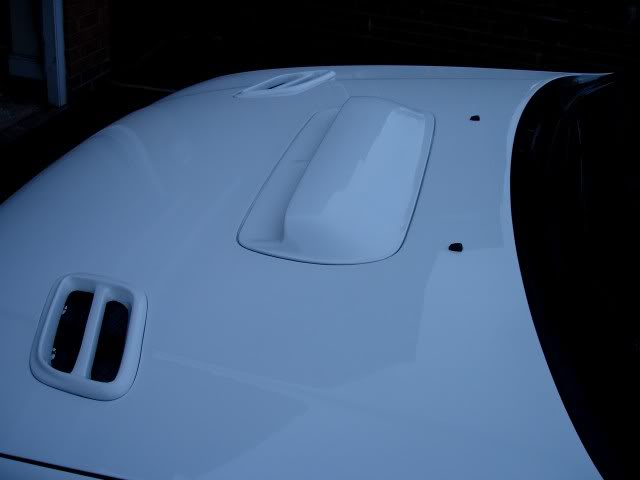
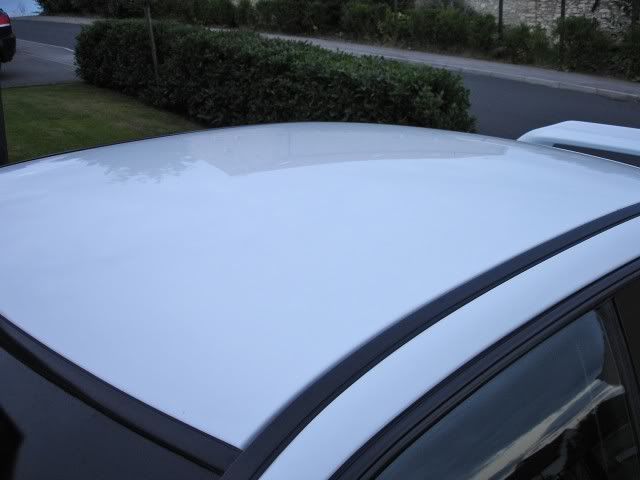
I didn't get any photos of the bonnet and roof as totally forgot. Once you start you just wanna get it over and done with!
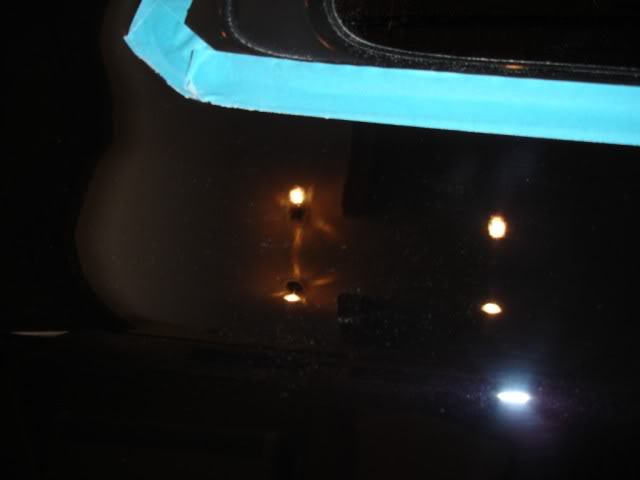
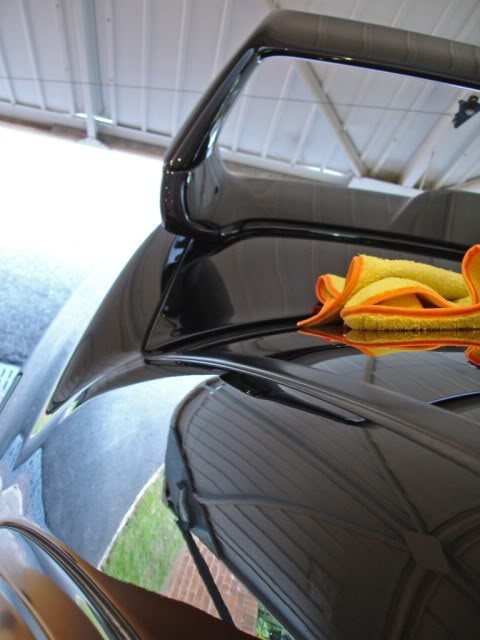
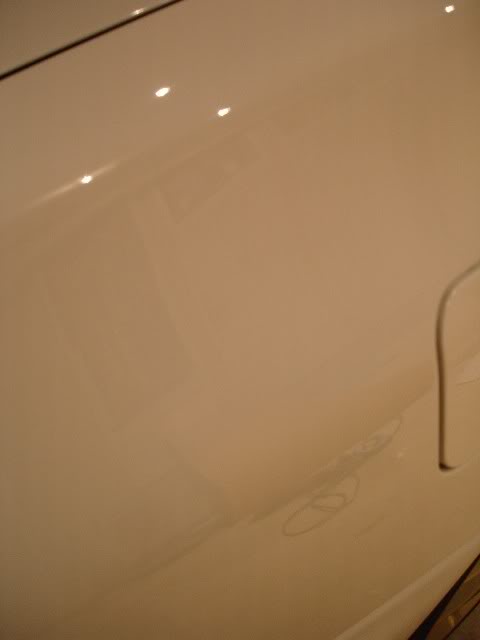
Polishing residue which was left over:
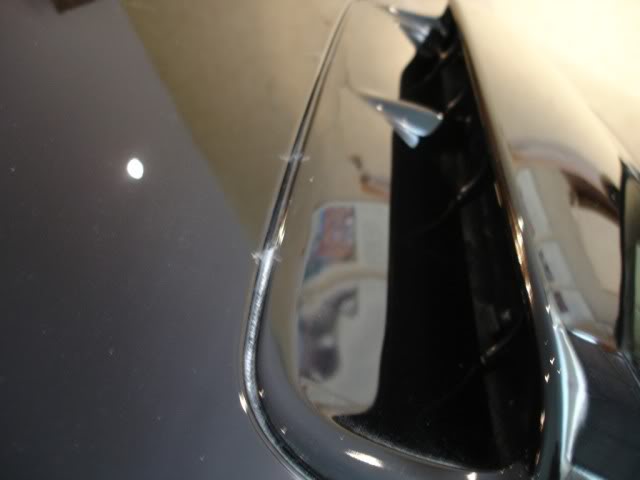
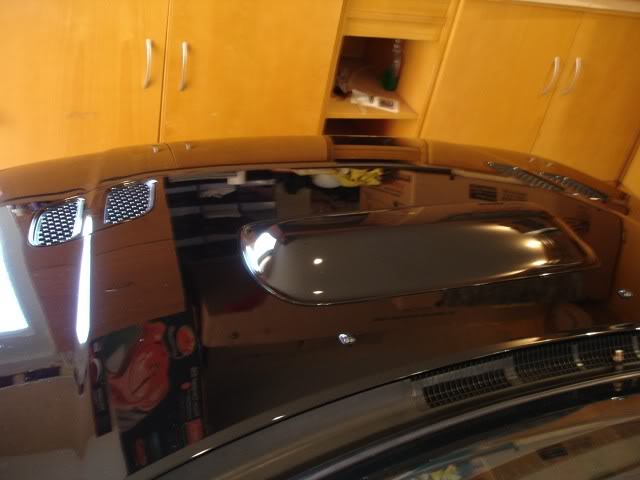
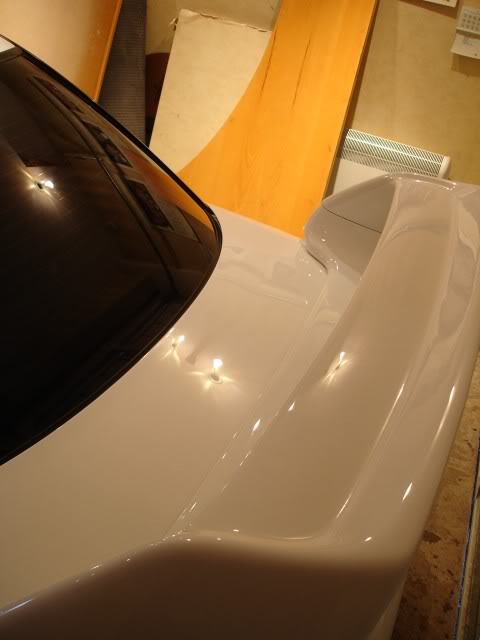
Scoop and vents removed:
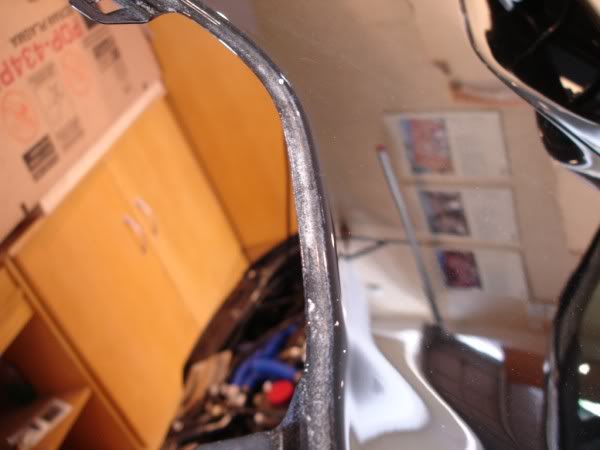

Scoop undertray before:
After:
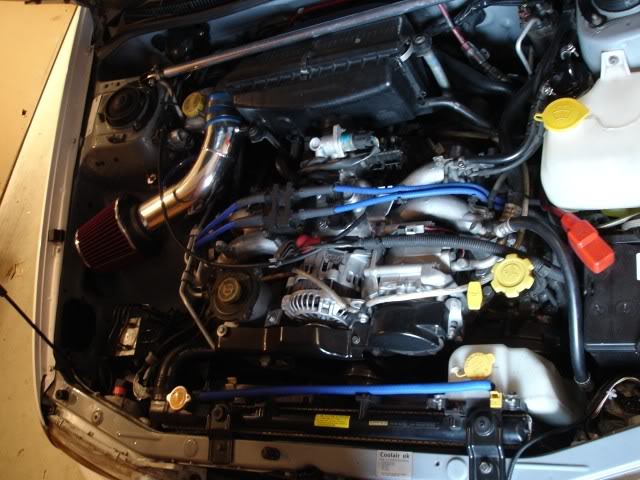
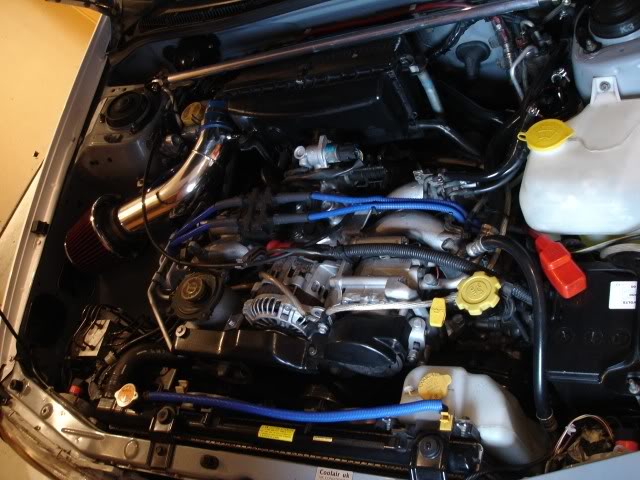
The 'cutting' stage was now done. The car was wiped down to remove all the residue and then I moved on to the engine bay...
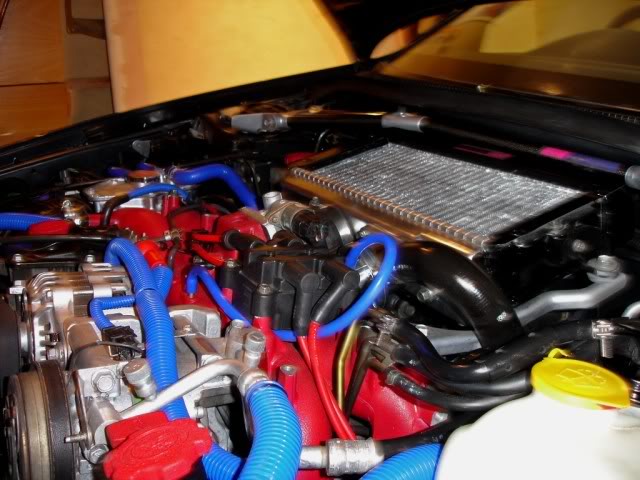
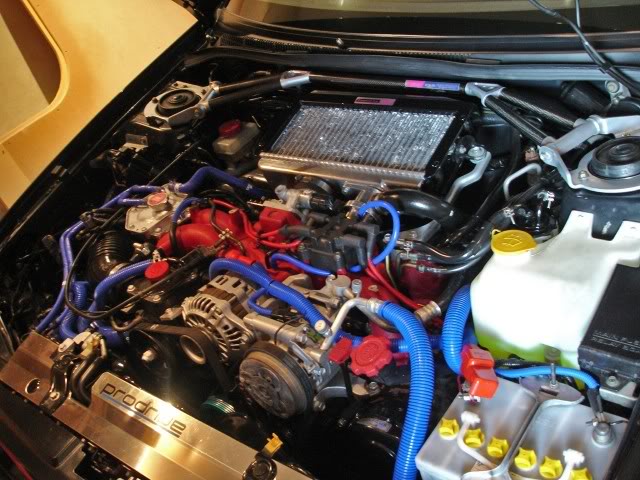
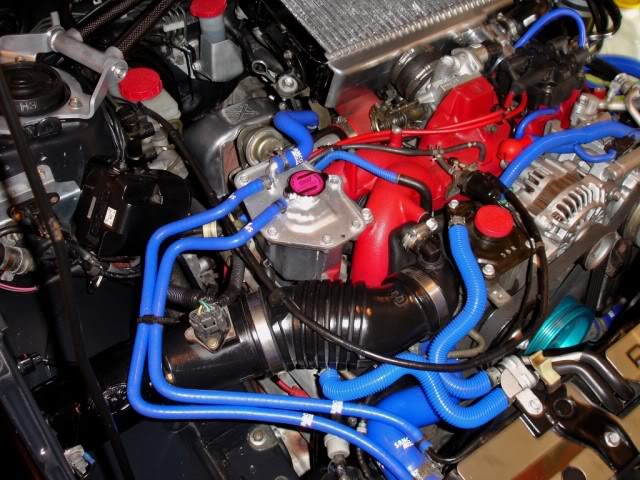
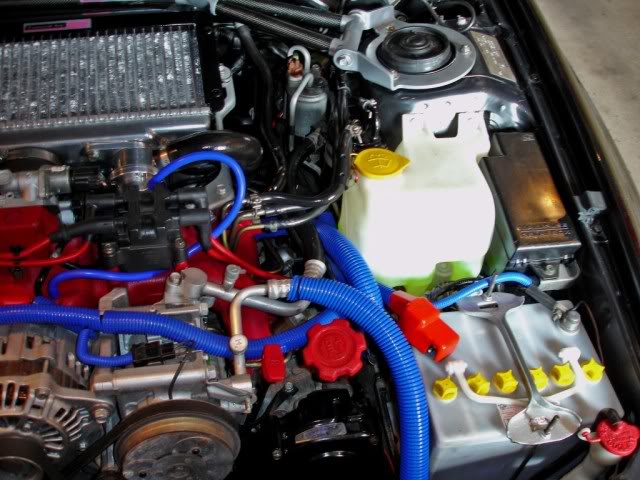
I keep it clean so you won't notice much of a difference. Products used were Meguiars Super Degreaser and dressed with 303 Aerospace Protectant.
Before:
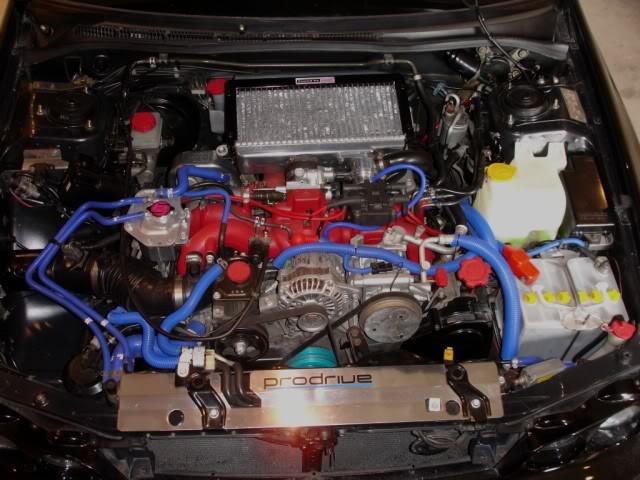
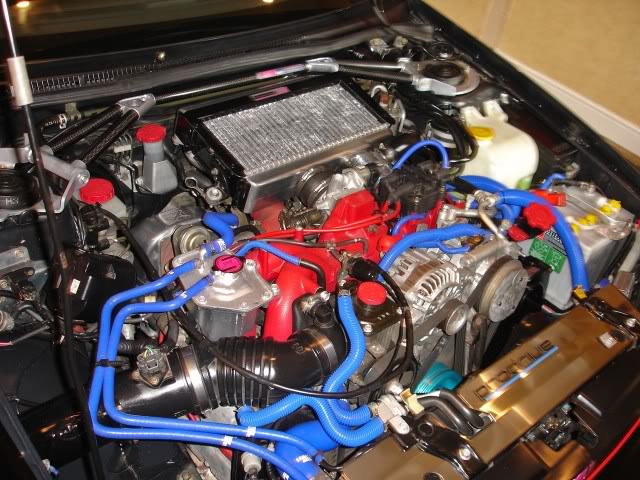
After:
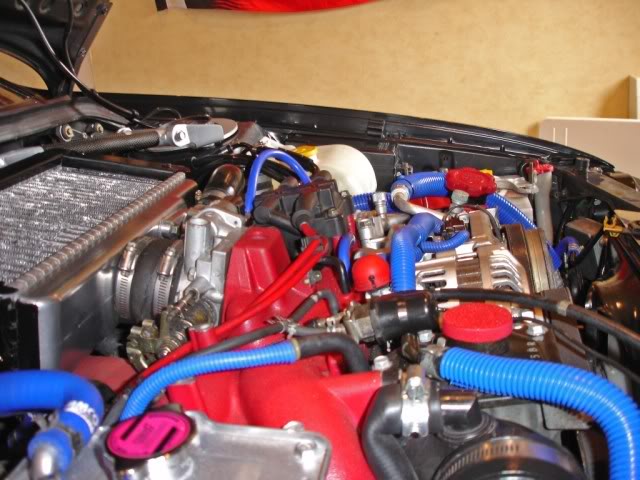
The underside of the hood was also cleaned up but no pictures to show this.
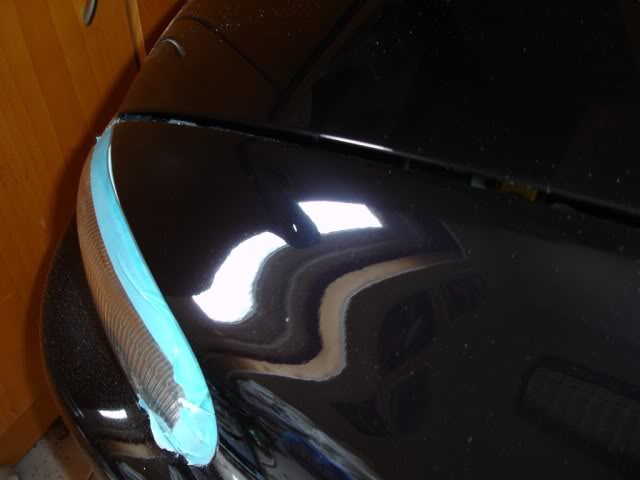
Next stage was to remove the marring on the paintwork and add some gloss. Blackfire Gloss Enhancing
Polish was the product of choice, applied with a German Applicator Pad and buffed off with Poorboys Deluxe Mega Towels:
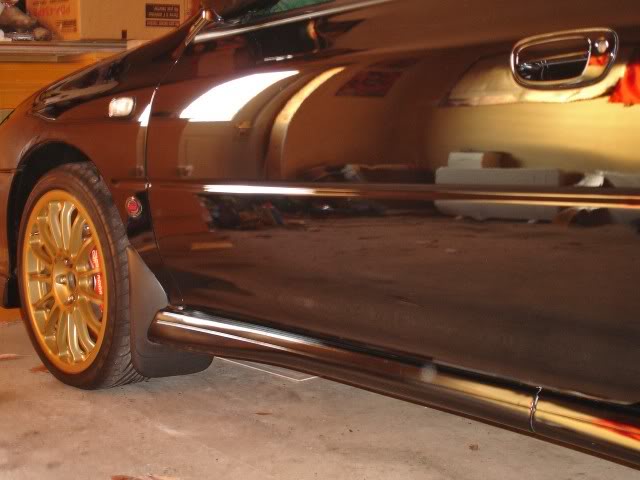
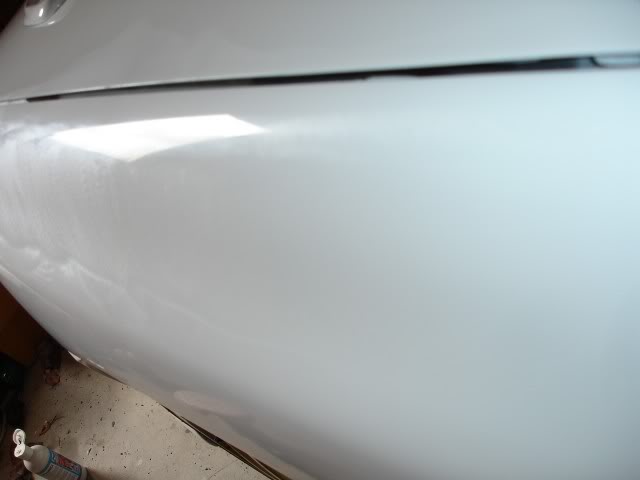
First half of the photos are just after 1 coat of Gloss Enhancing Polish and the second half are after 5 coats:

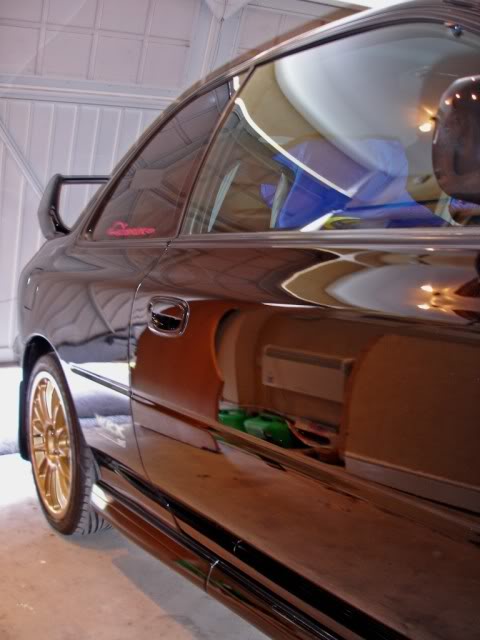
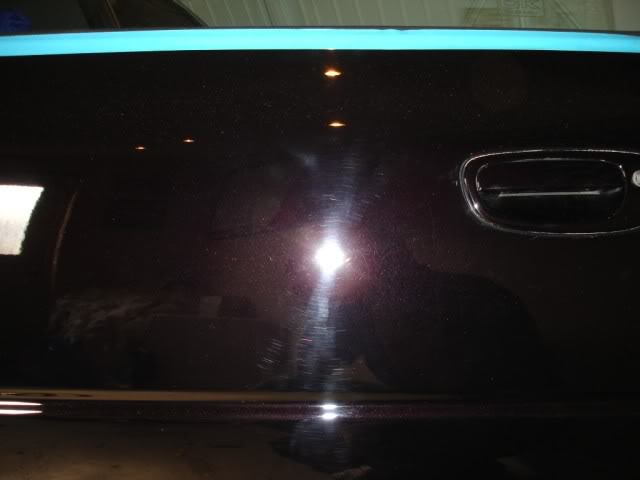
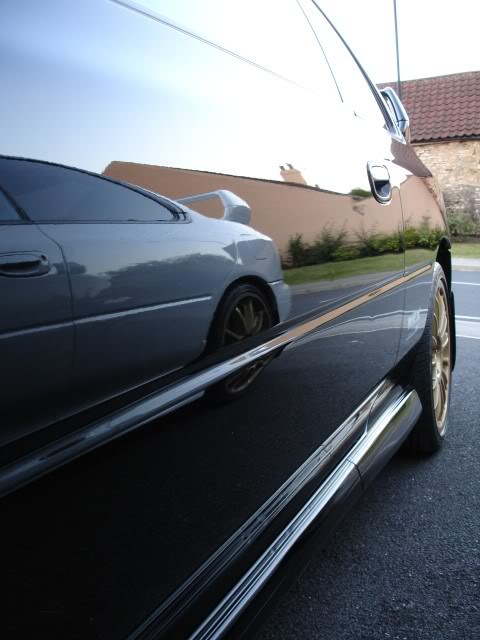
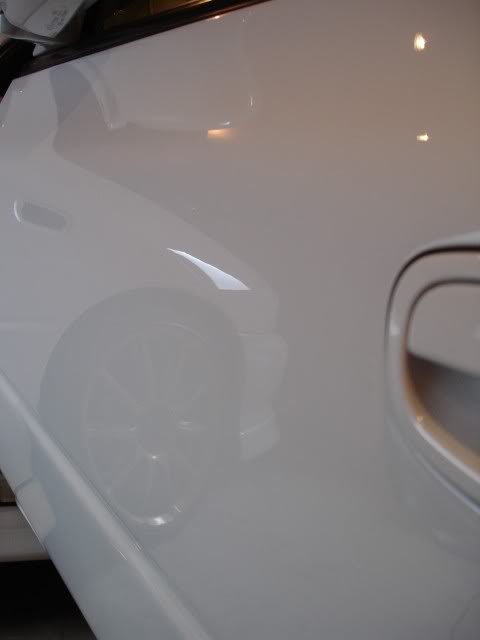
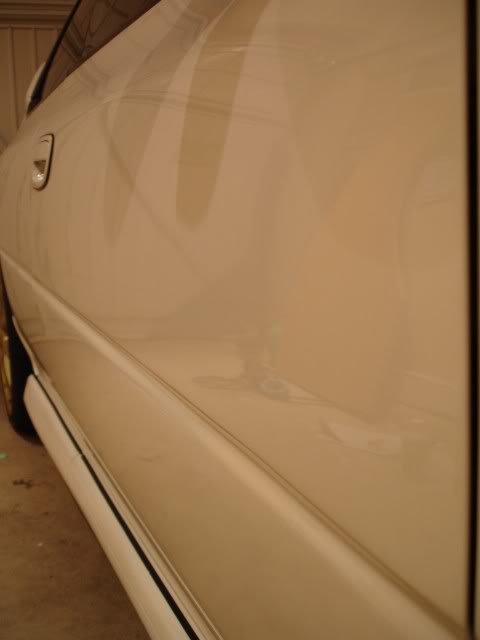
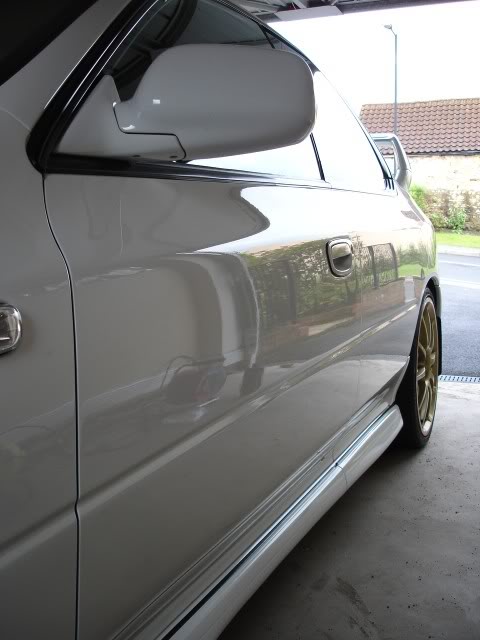
Love this reflection shot on the nearside door:
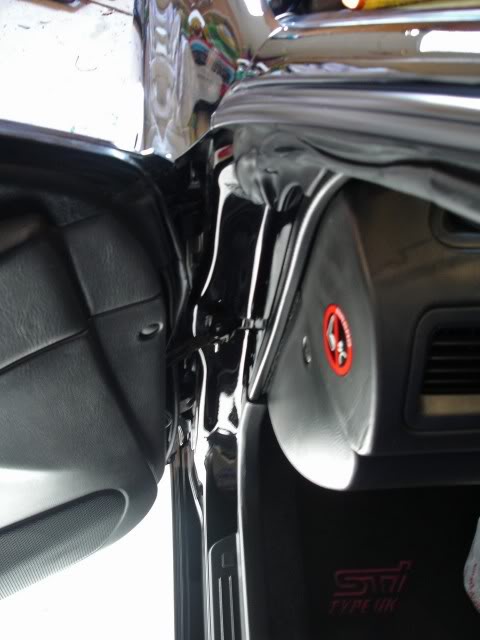
Door shuts were not forgotten:


The last photo shows the end of another day.
5 coats of Blackfire Gloss Enhancing Polish later, it was time to seal the finish. Product used to seal was Blackfire Wet Diamond All Finish Paint Protection. 10 coats of this were applied using a German Applicator pad (red side) and buffed off with Poorboys Deluxe Mega Towels.

Protection stage now over, I gave the car another wipe down.
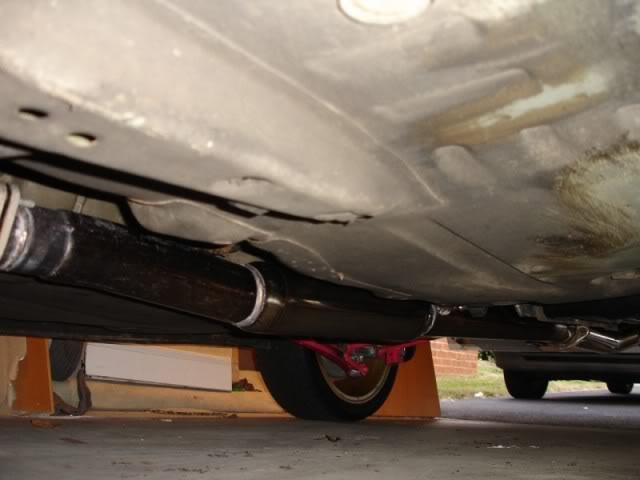
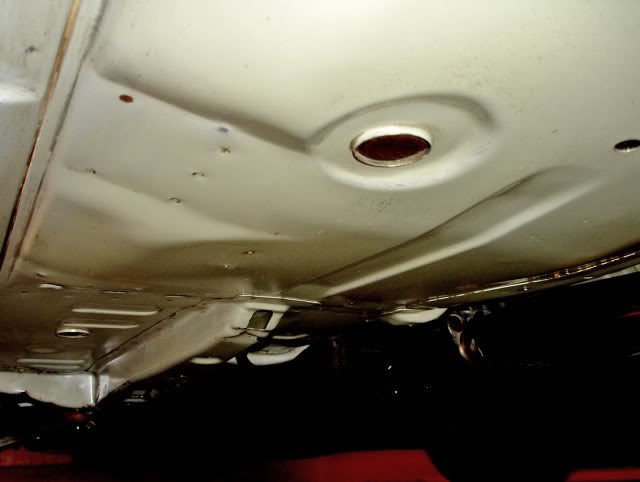
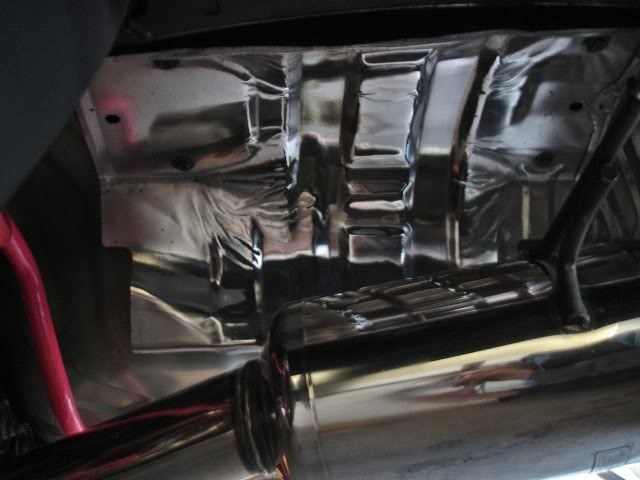
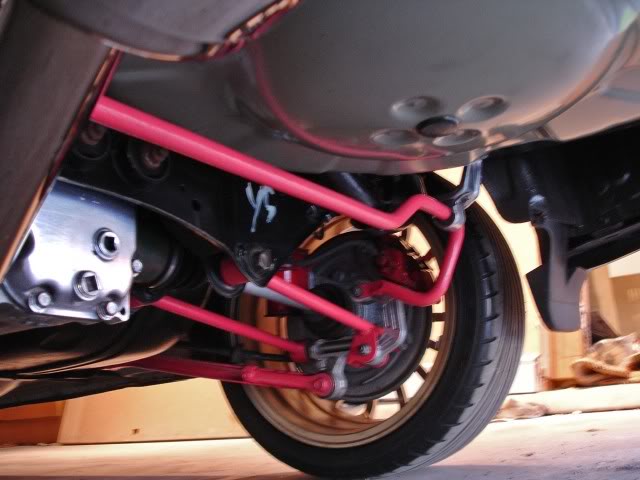
Next was to detail the underside.
Products used were Meguiars Super Degreaser, scouring pads and A LOT of hard work by hand...
Before:
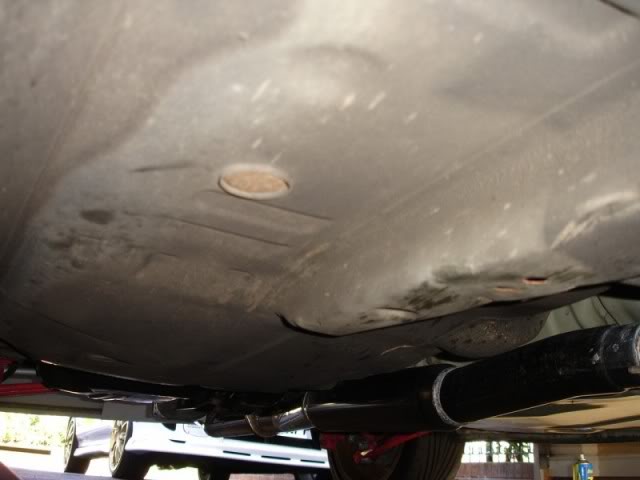
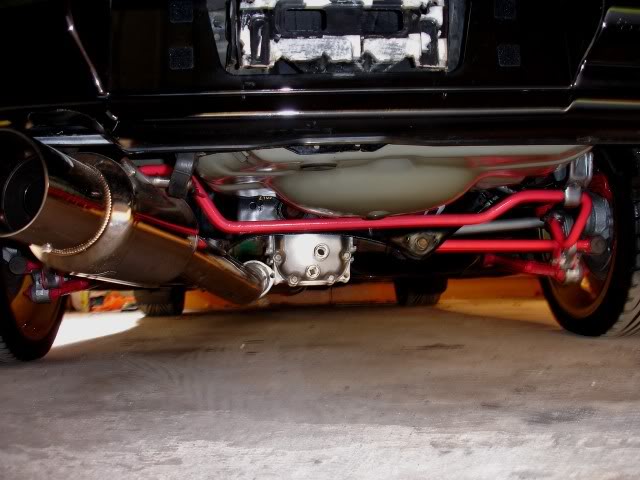
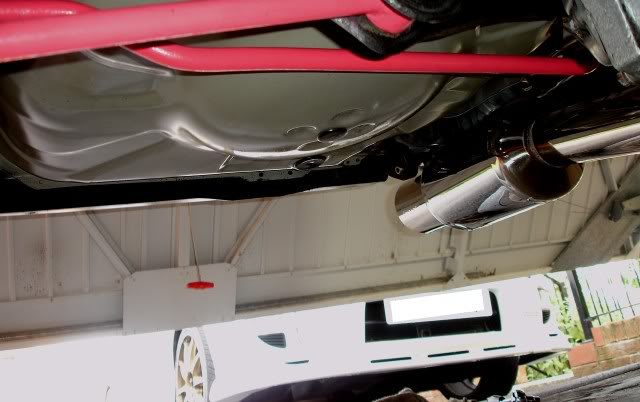
Meguiars Super Degreaser was applied again. Everything cleaned and 3 coats of lacquer were applied:
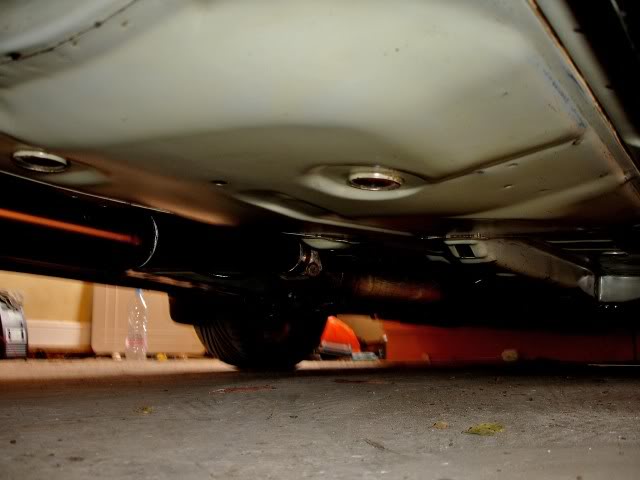

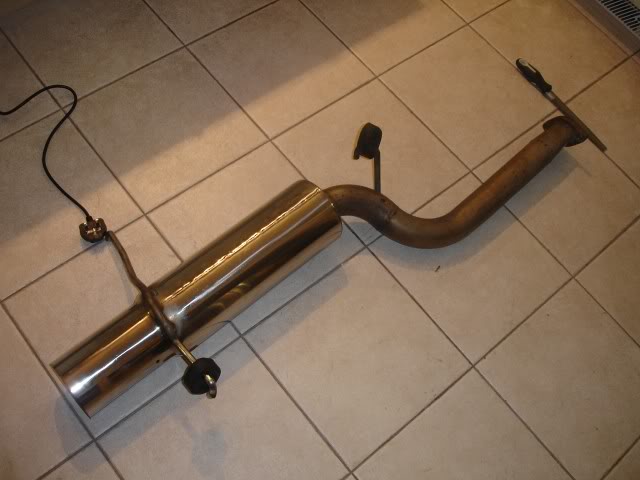
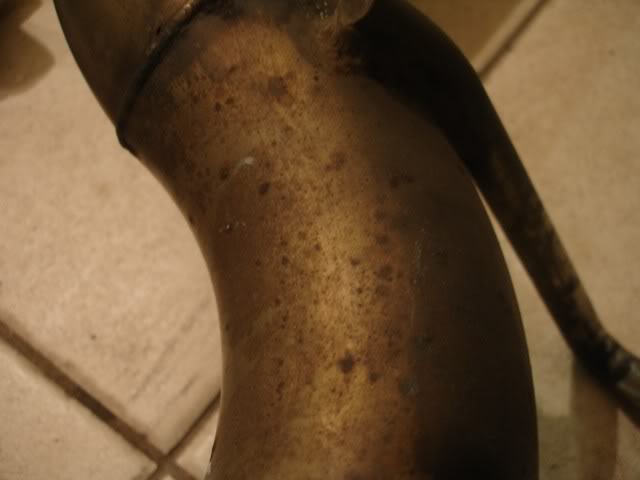
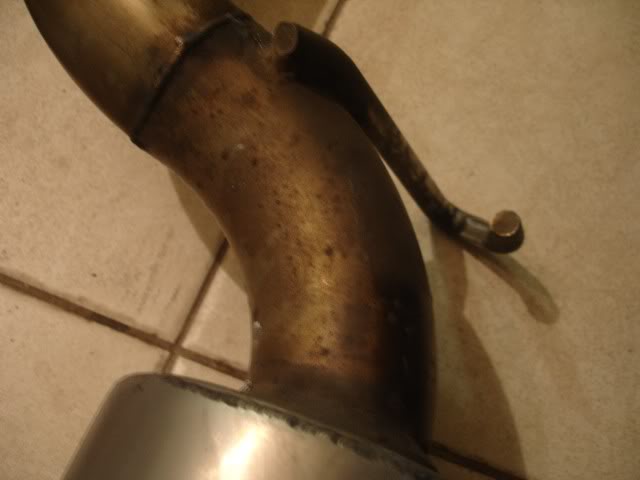
Last photo also shows the filthy exhaust, and more photos of it:

Heat shield before:
After:
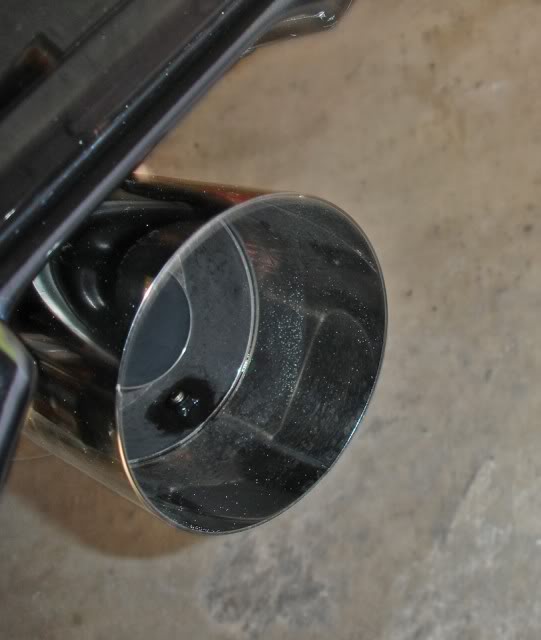
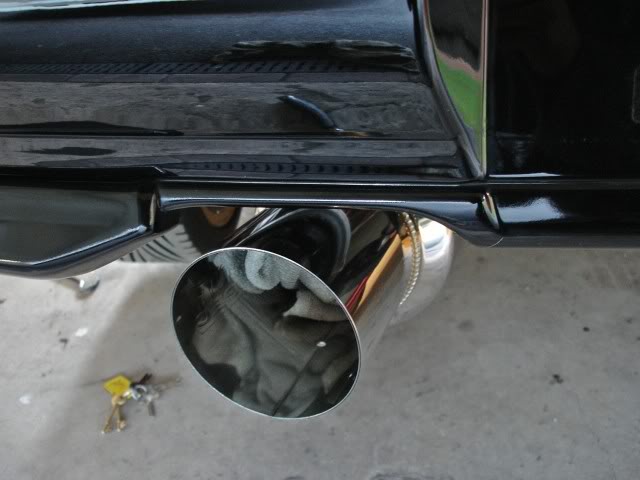
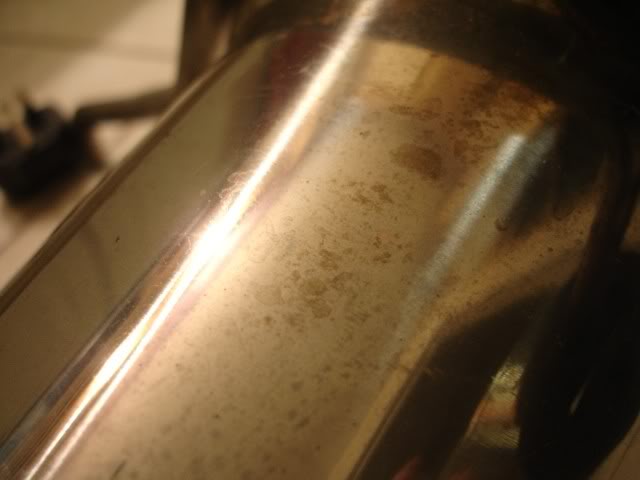
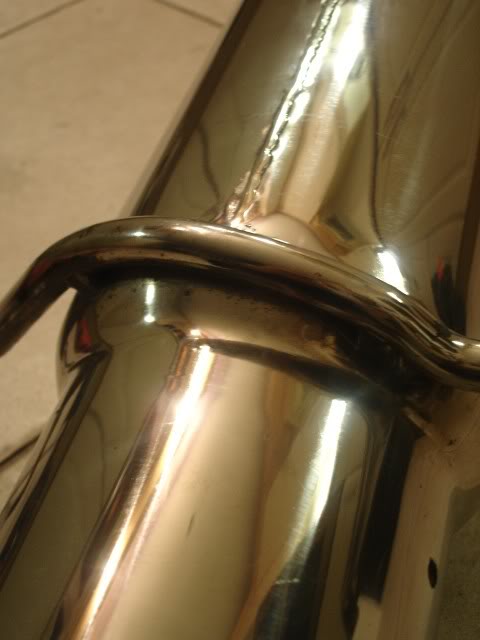
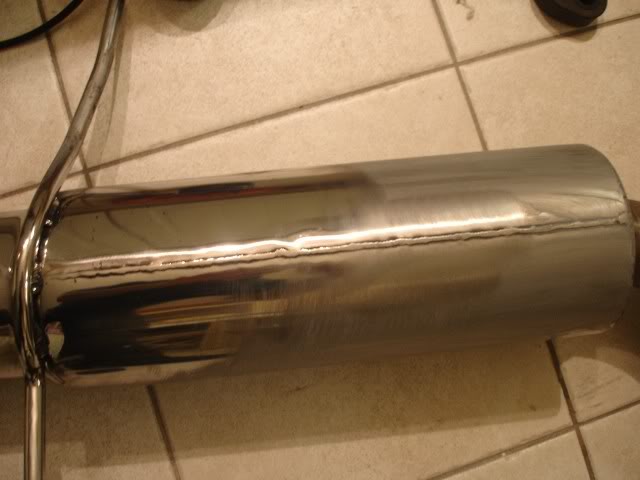
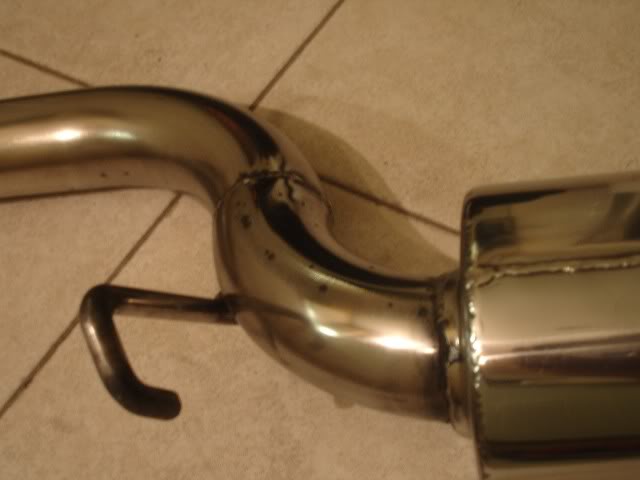
Exhaust was then cleaned with Meguiars NXT Generation All Metal Polysh and buffed off with Poorboys Super Thick & Plush Towels:
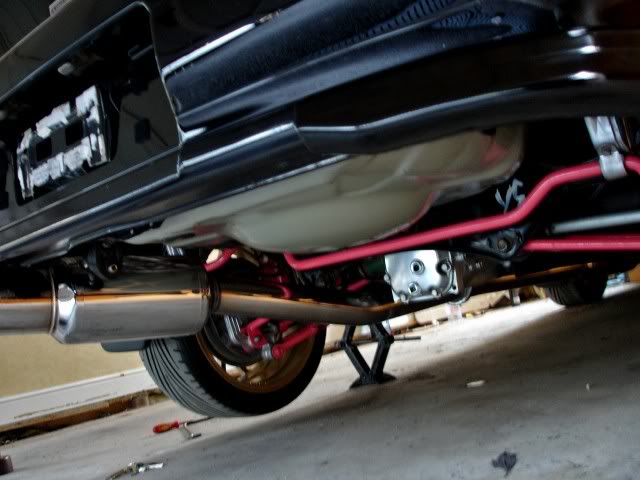
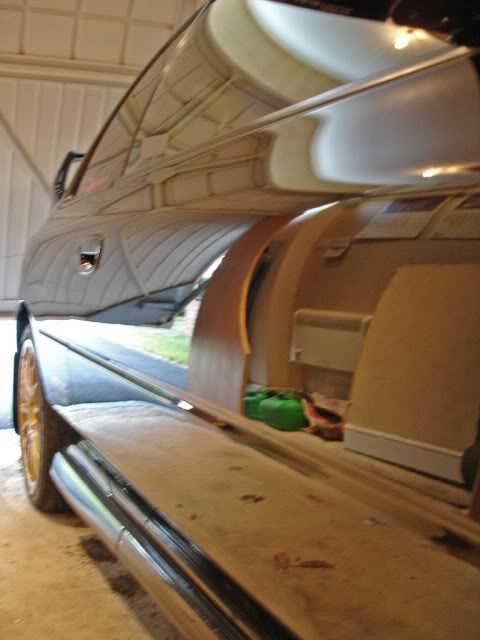
Also shows the underside nicely:
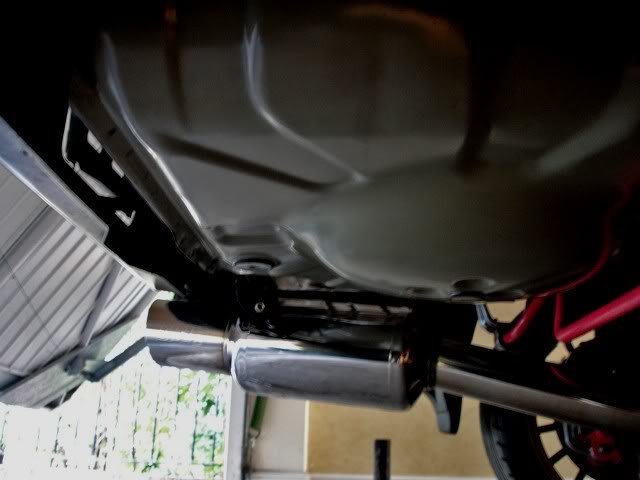
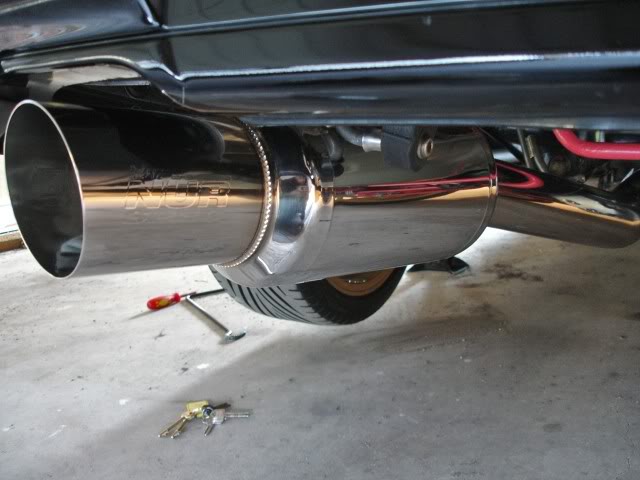
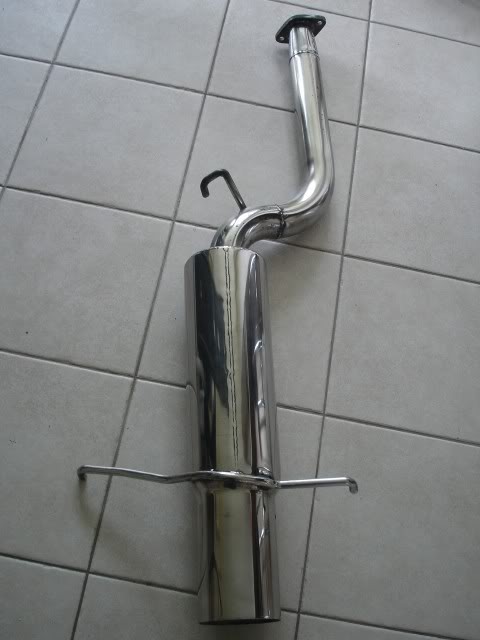
Yes, the inside of the exhaust was also done:

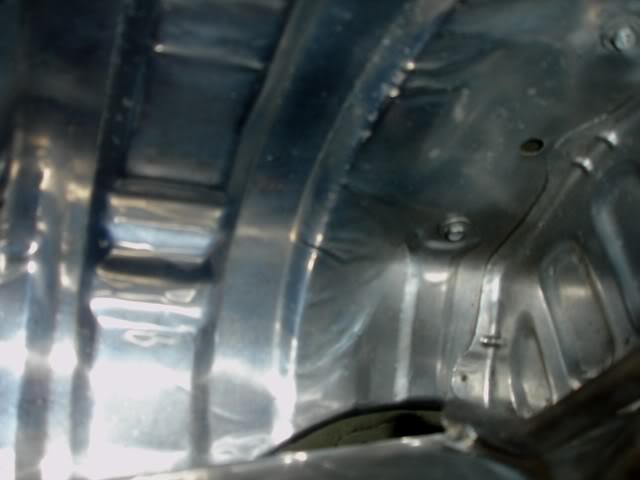
More exhaust and underside shots:
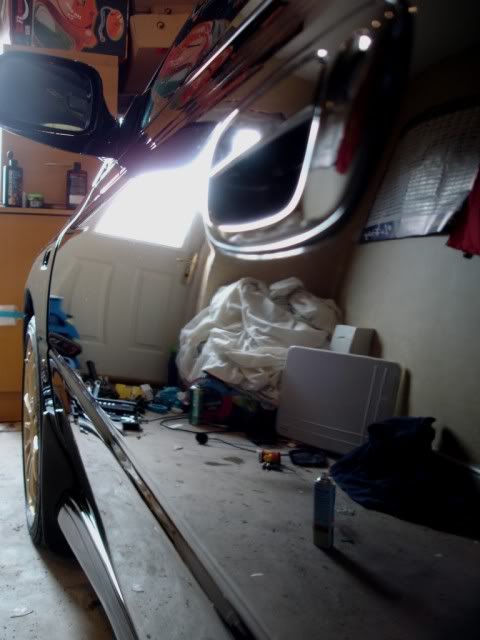
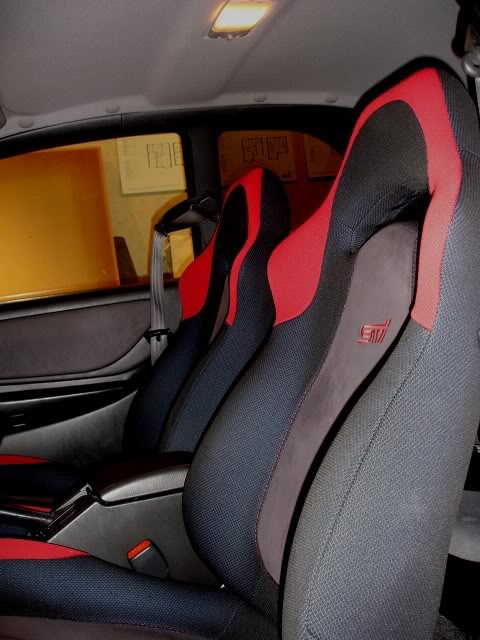
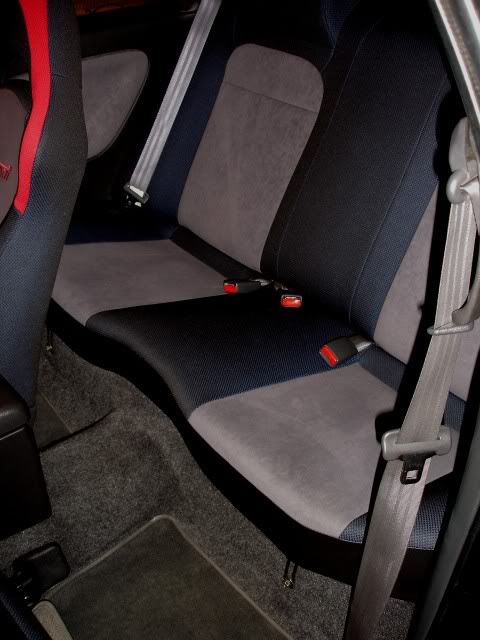
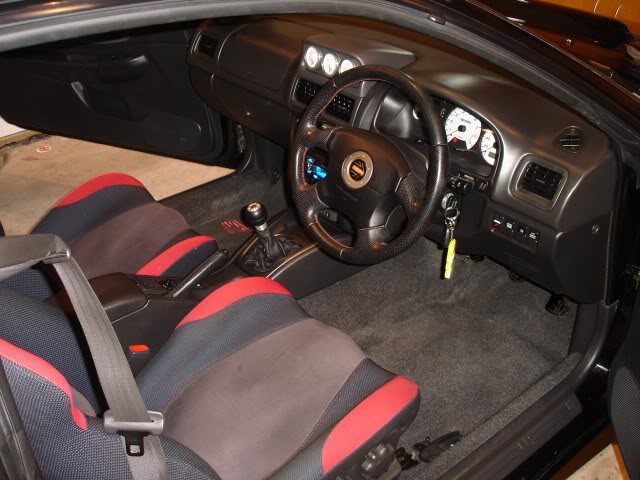
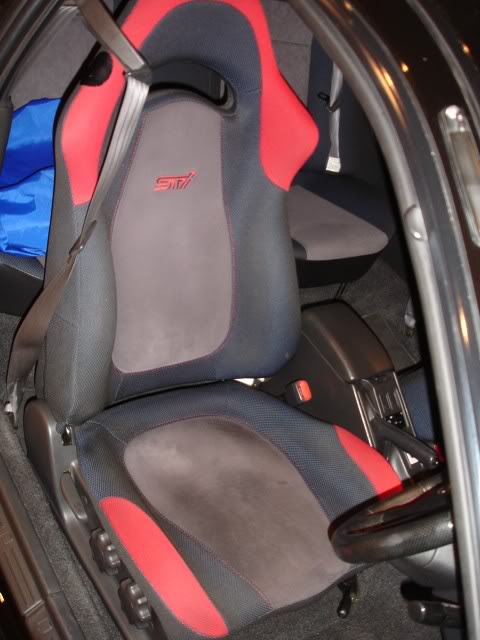
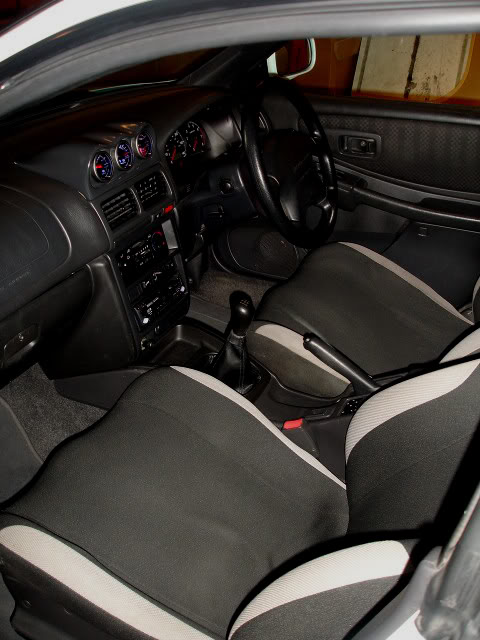
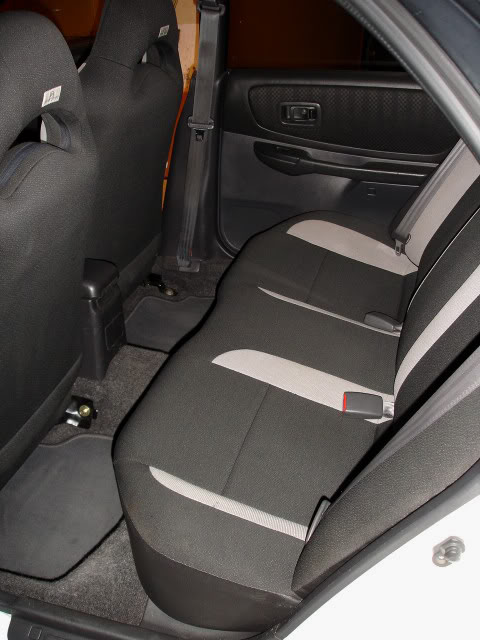
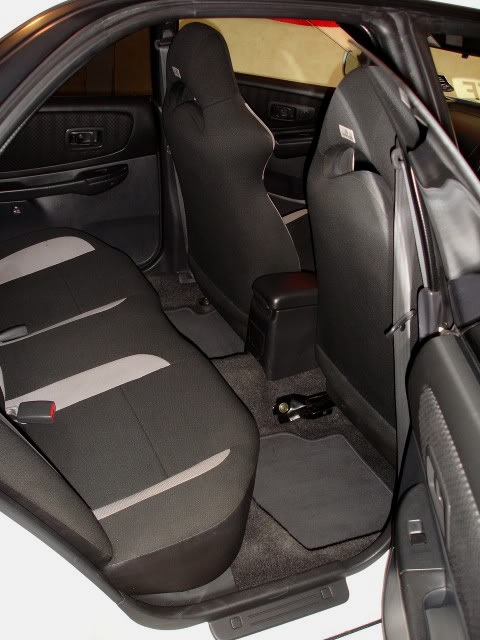
Now it was time to detail the interior. Firstly vacuum and then plastics dressed with 303 Aerospace Protectant. I usually have blue Subaru seat covers but removed these for the photos:

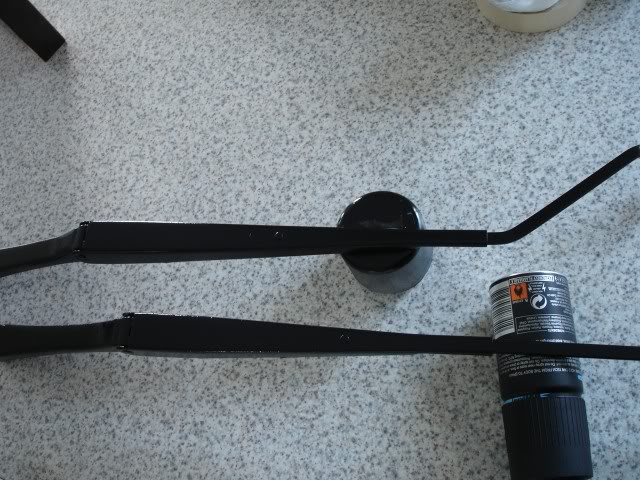
Car was pretty much done but decided to refurbish my wipers...

Before:
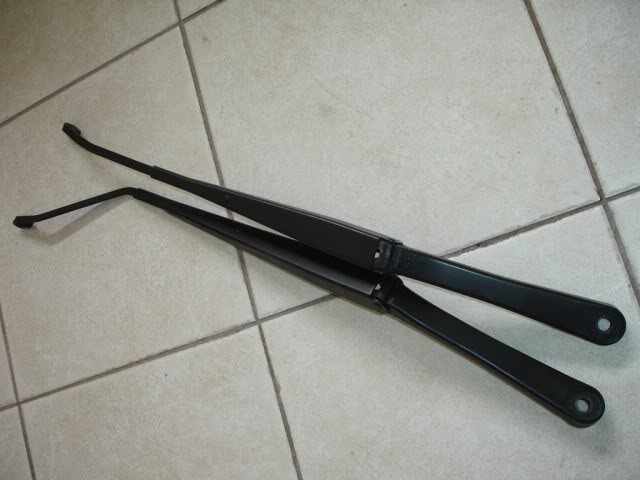
During:


After:
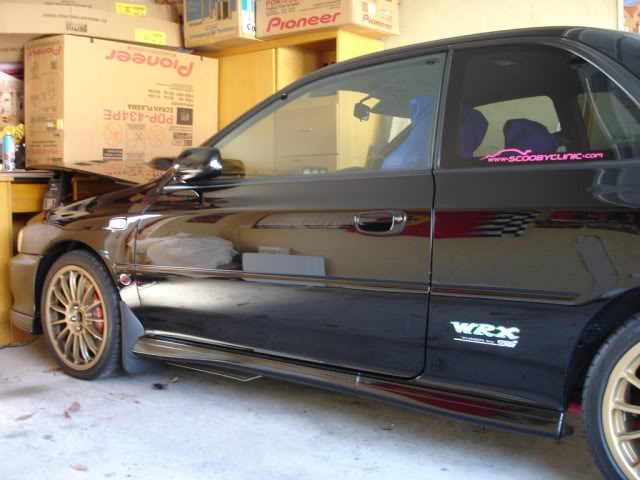
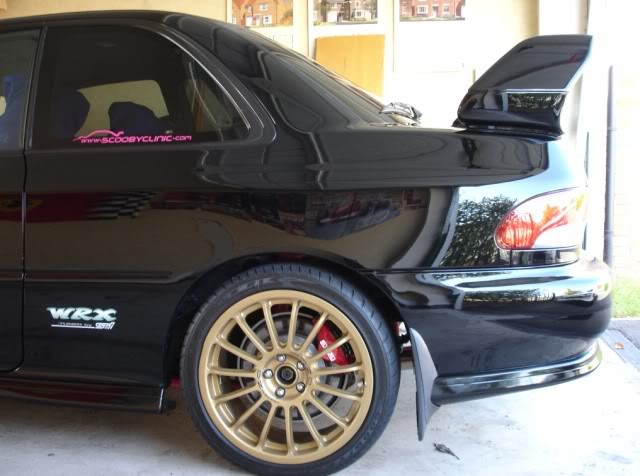
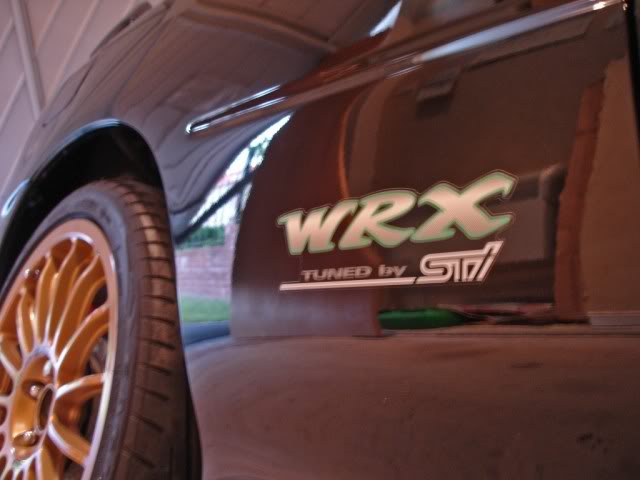
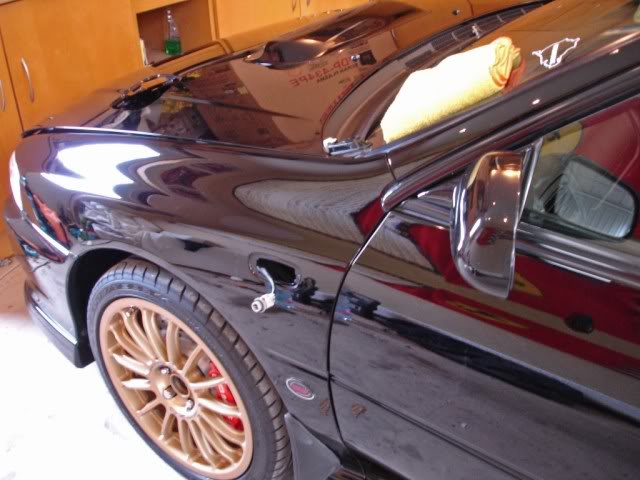
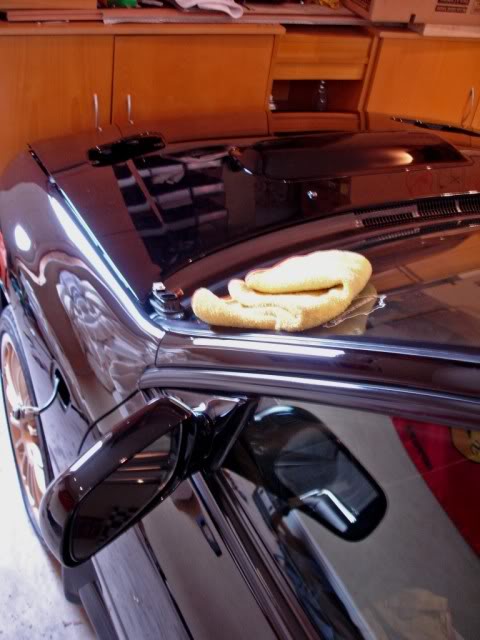
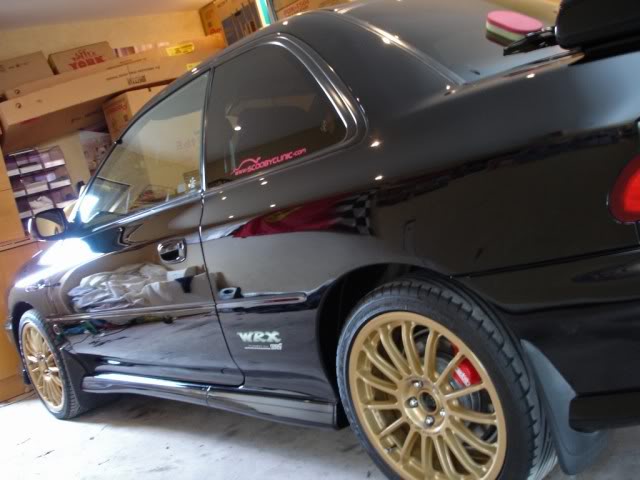
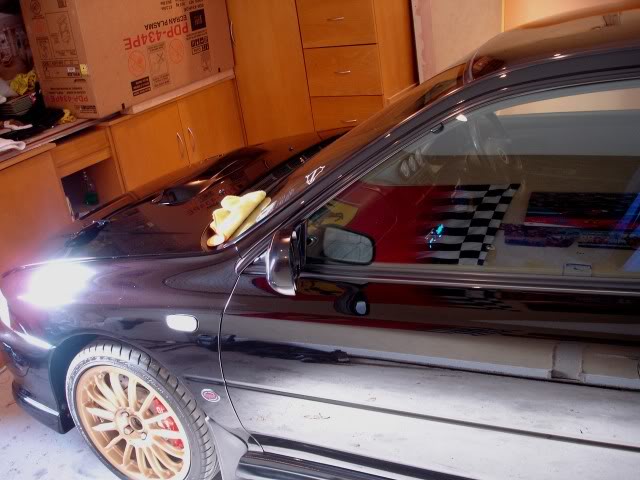
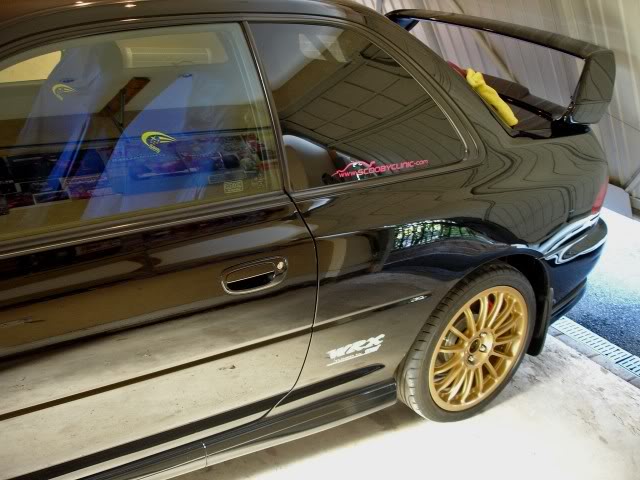
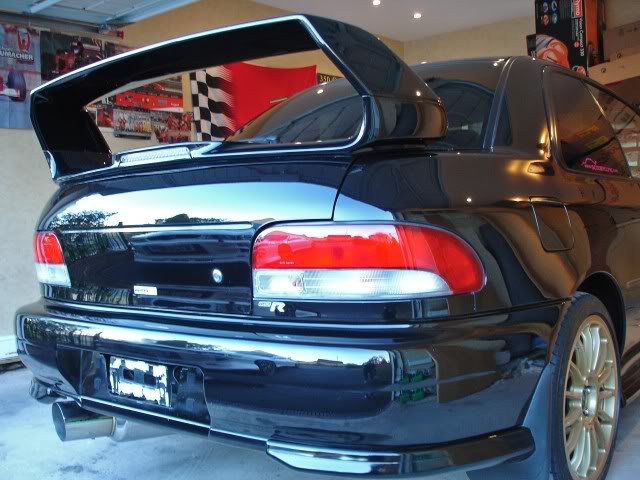
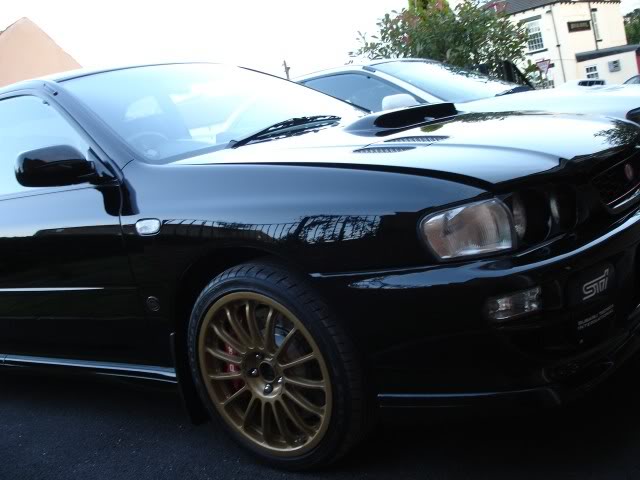
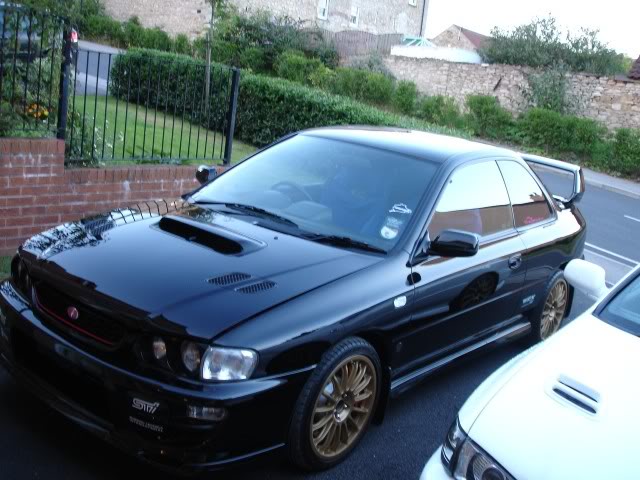
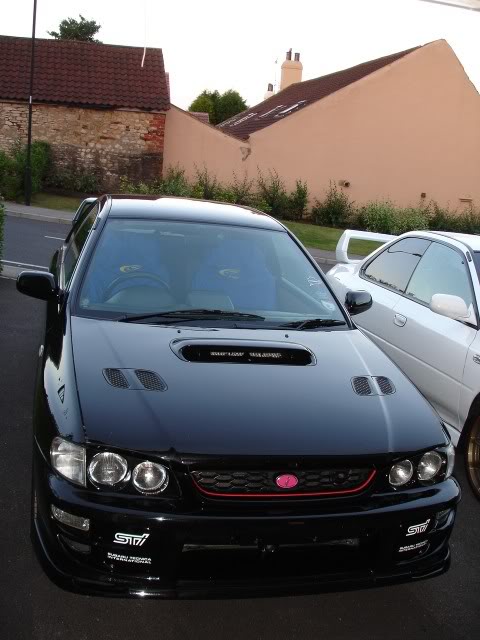
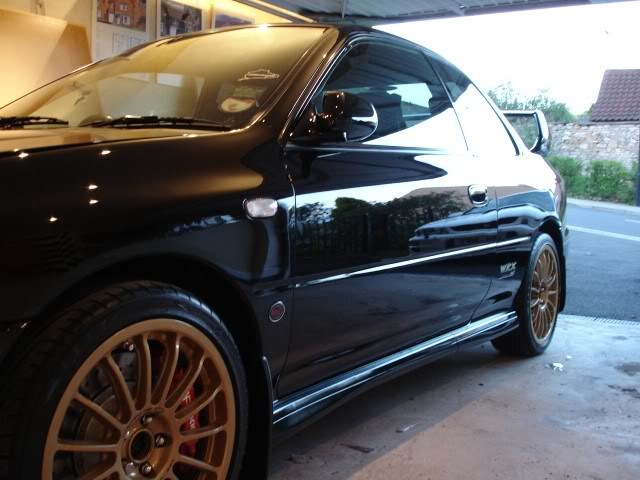
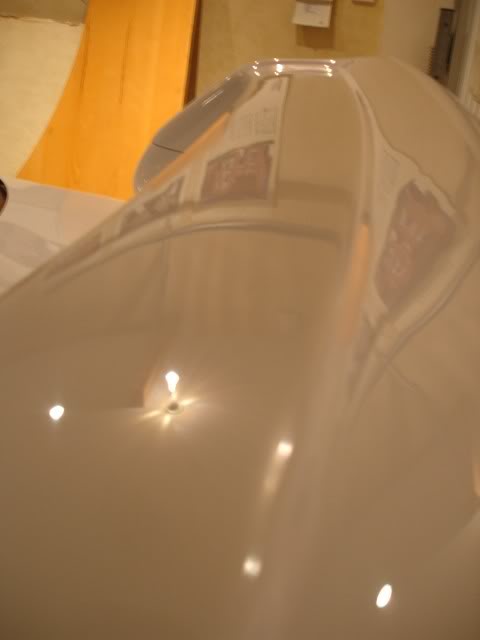
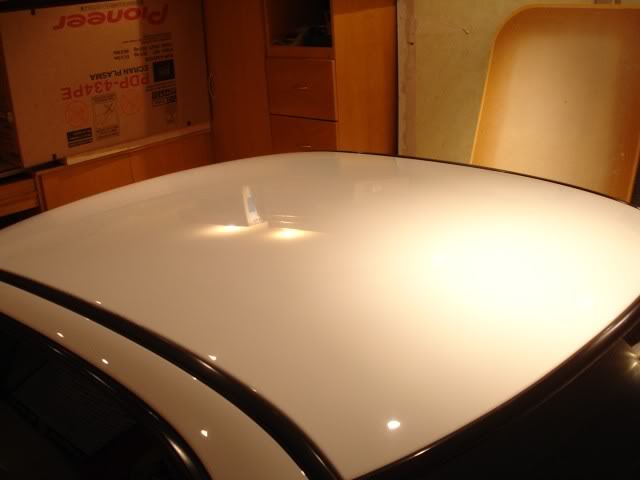
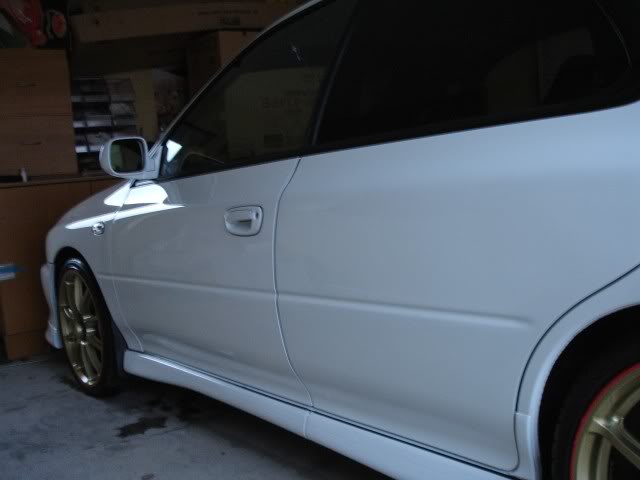
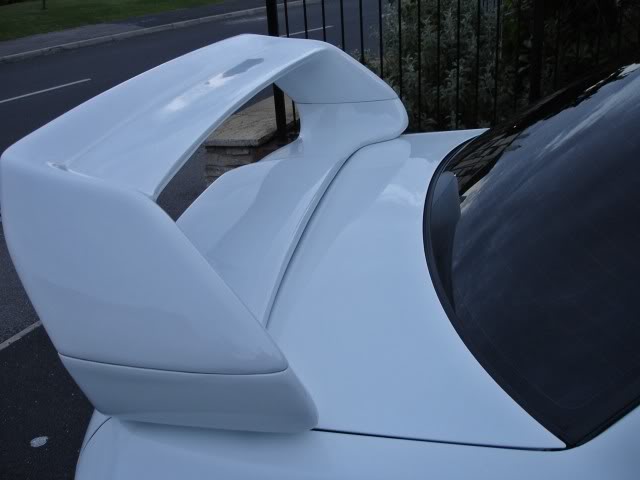
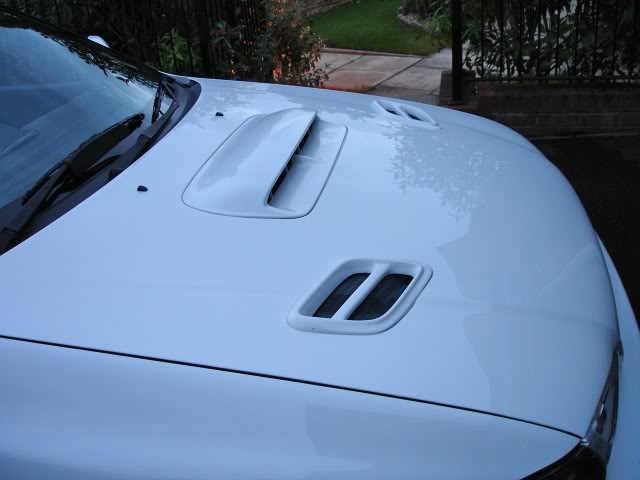
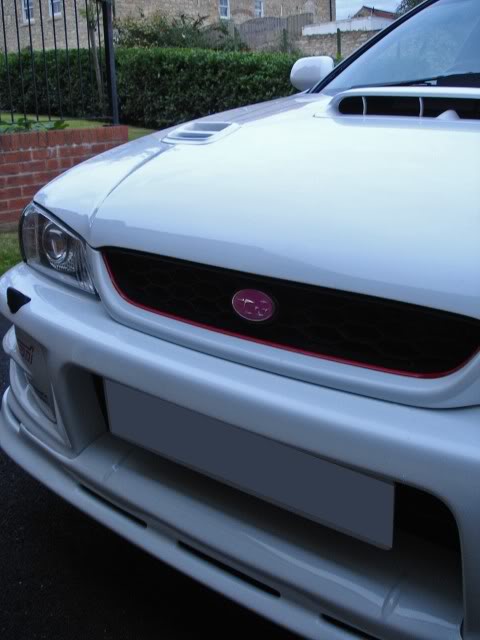
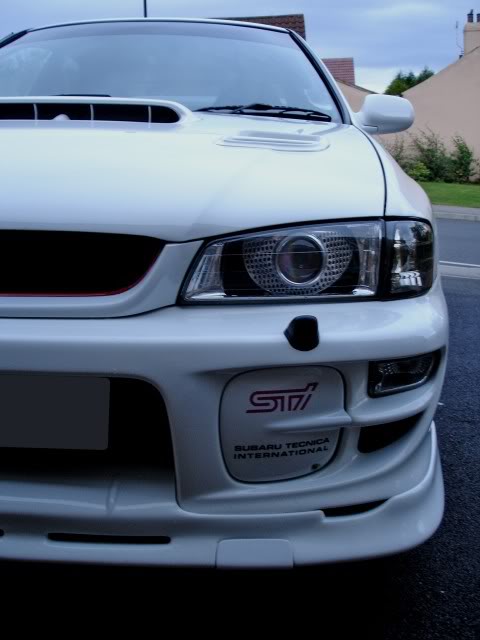
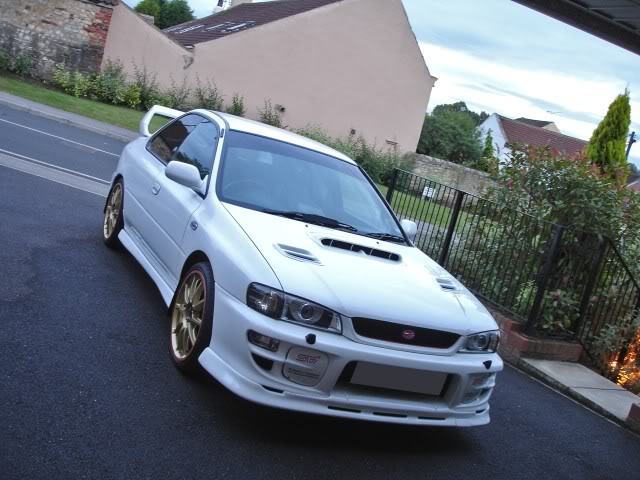
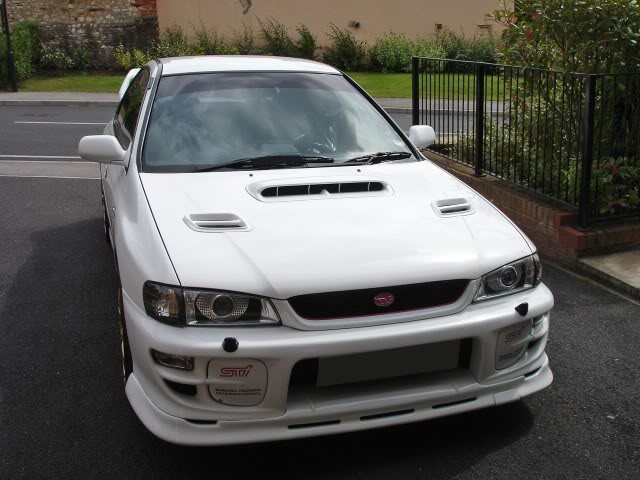
Now time for some finished photos. Please note the car actually looks much better but because of the dull weather .
Going back to the tyres, you're probably wondering why I didn't dress them? Well, I did, but wanted to leave them till the end. The insides and outside of the tyres were dressed with CarPlan 'Wet Look' Tyre Slik. That's their spelling of it! This was applied with a Meguiars pad. The glass was done with Meguiars NXT Glass Cleaner.
Also apologies for some blurry shots and note that the wipers were now back on:

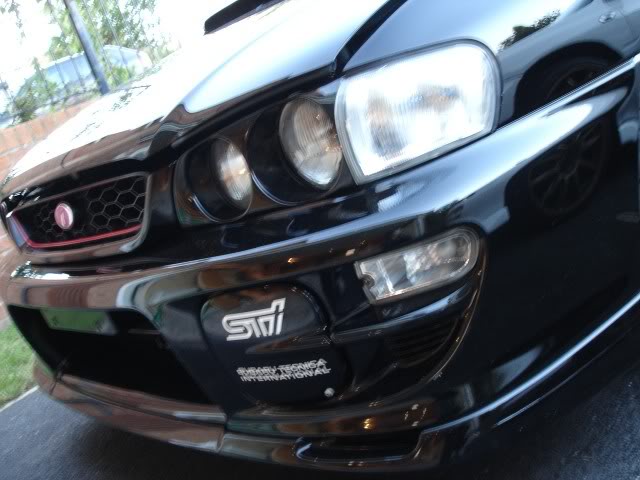
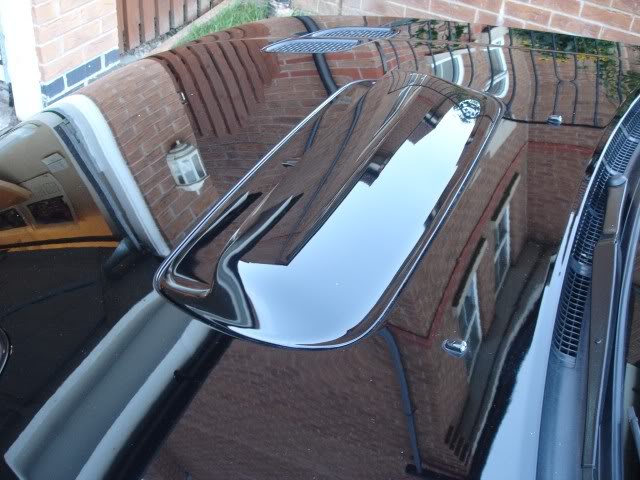
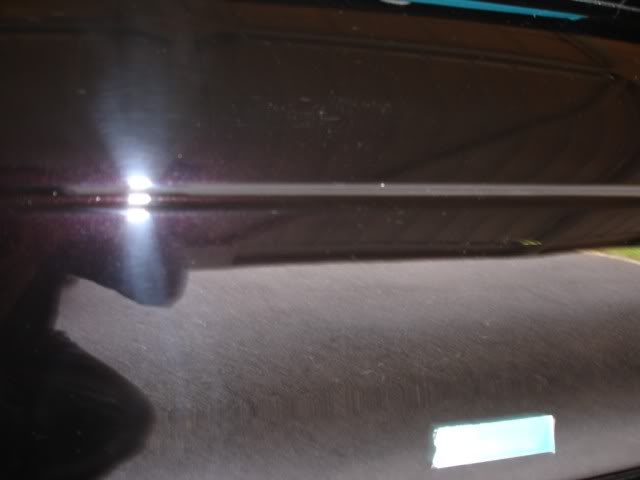
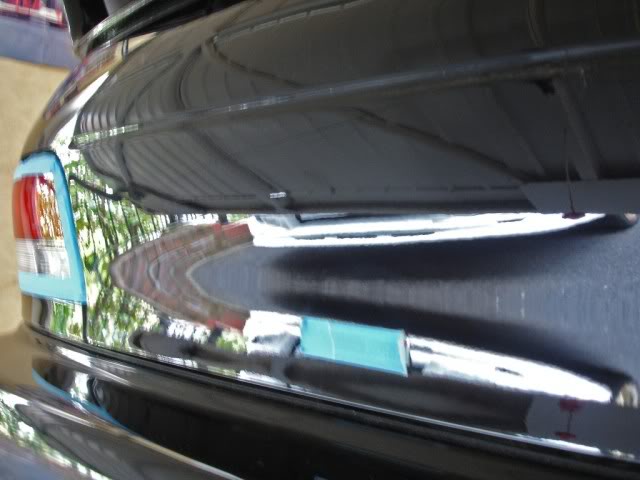
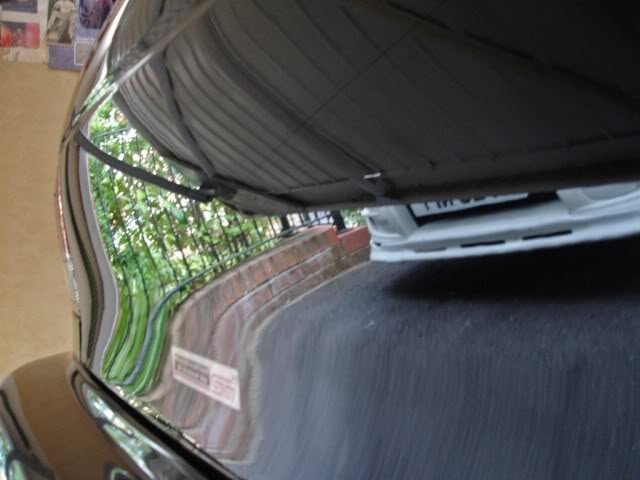
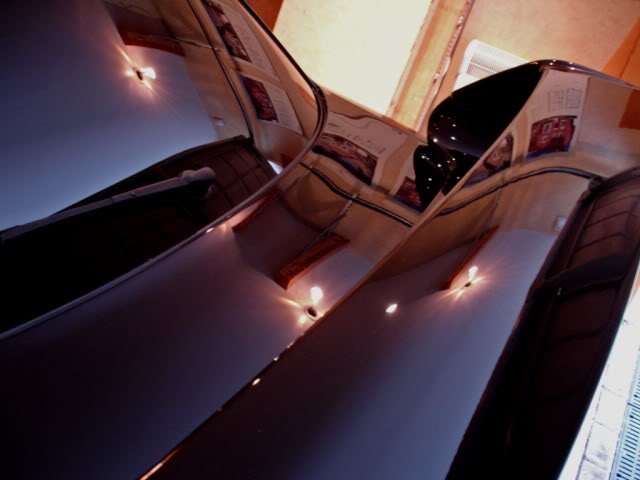
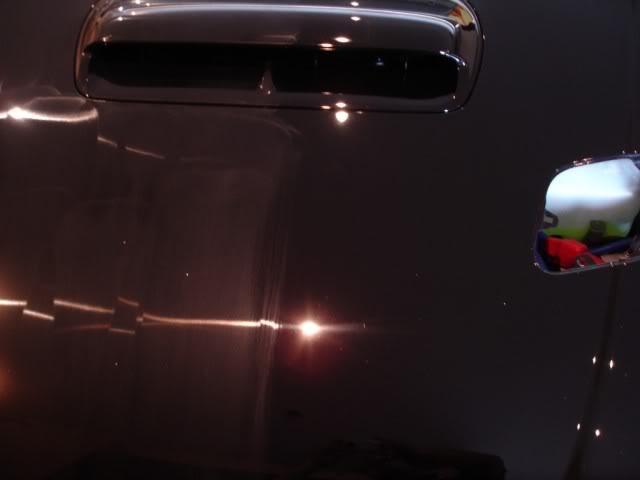
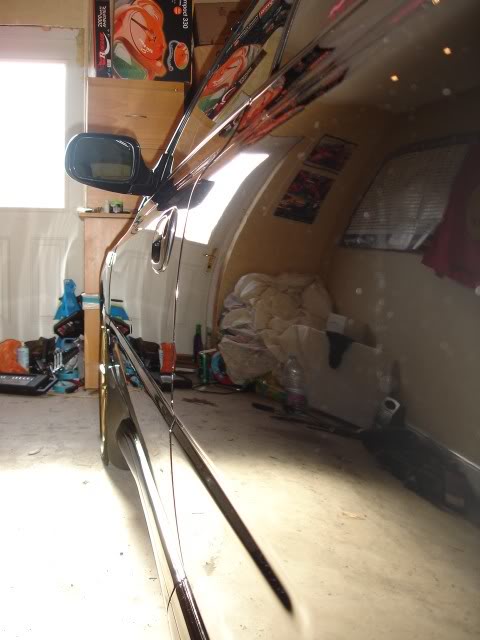
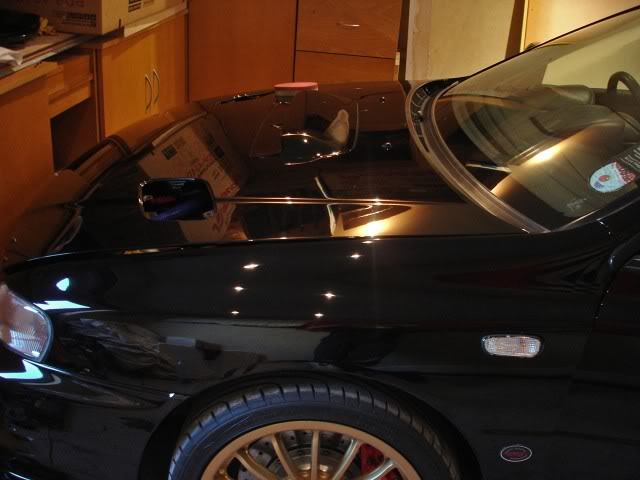
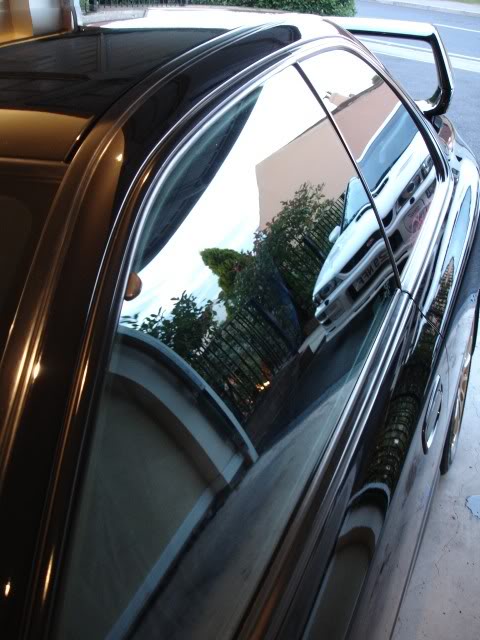
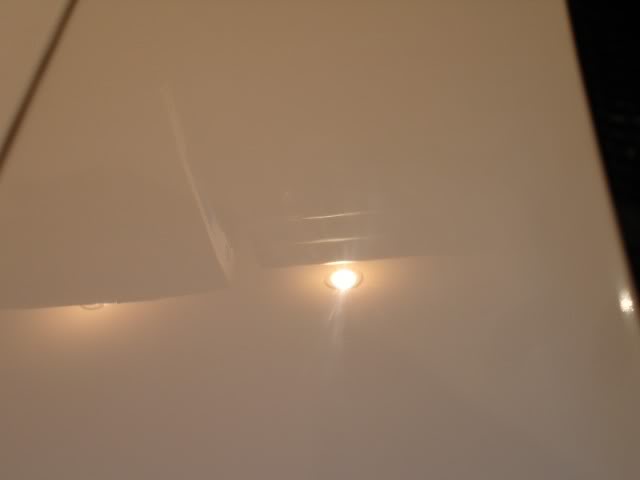
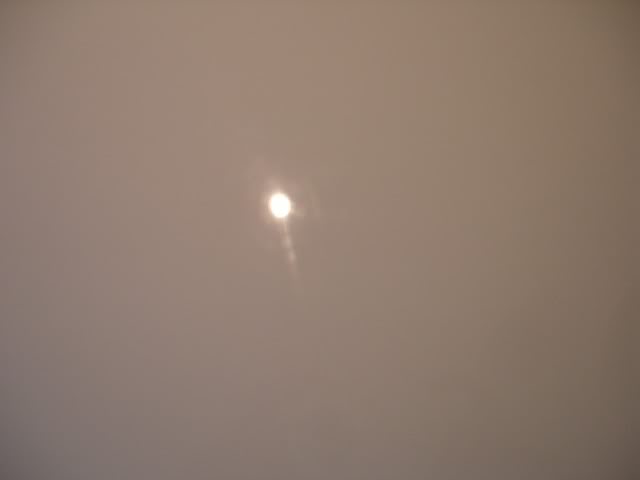
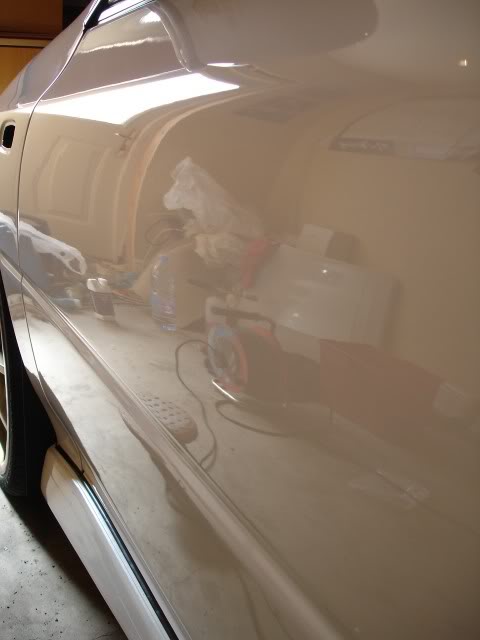
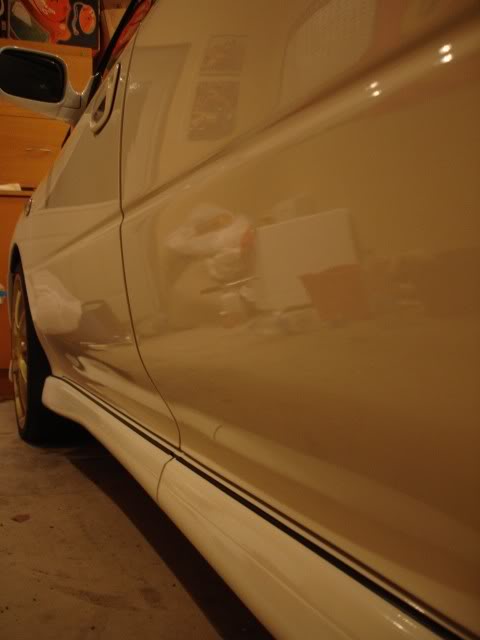
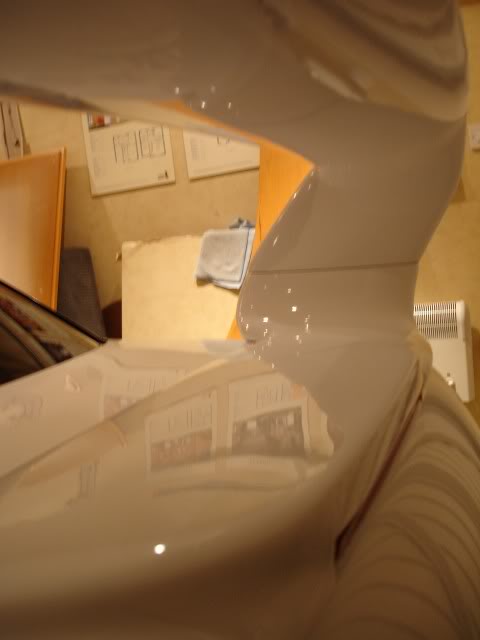
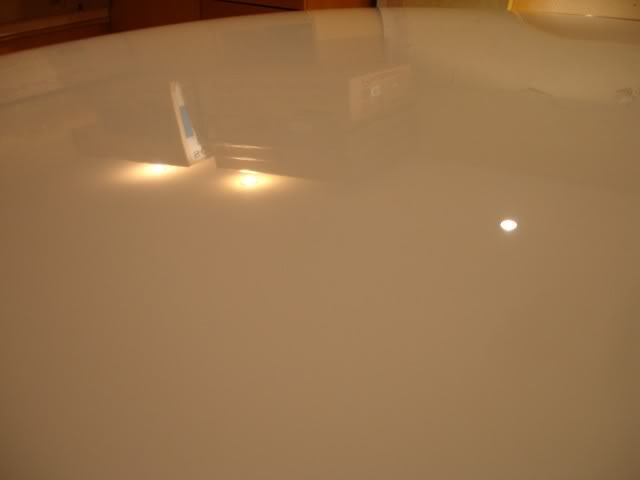
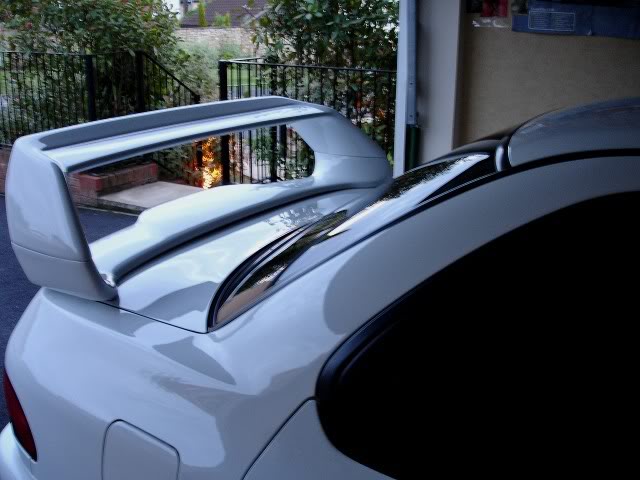
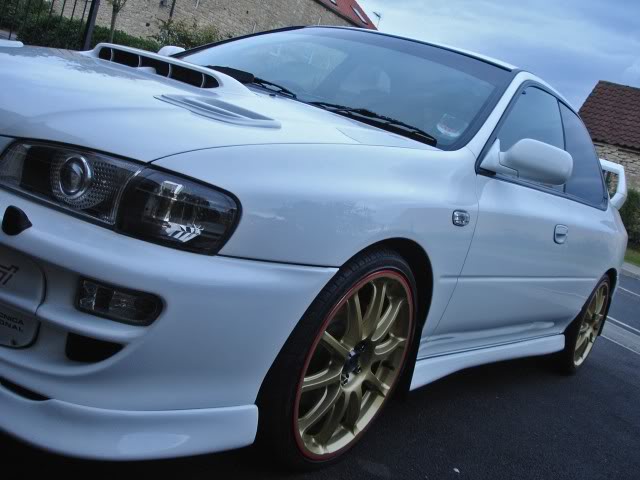
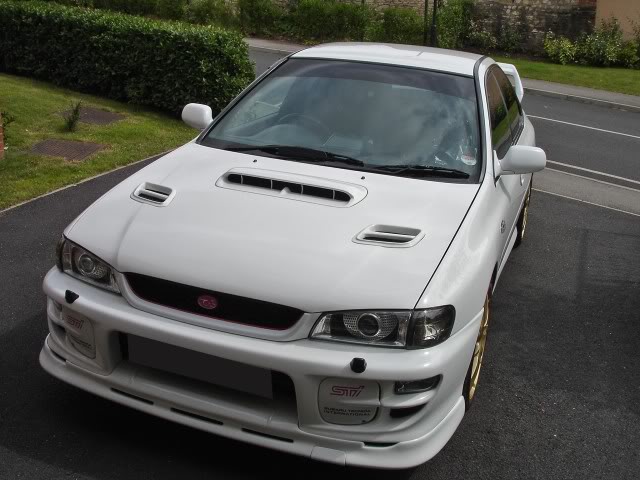
Couple of reflection shots:


To show the glass reflectivity:
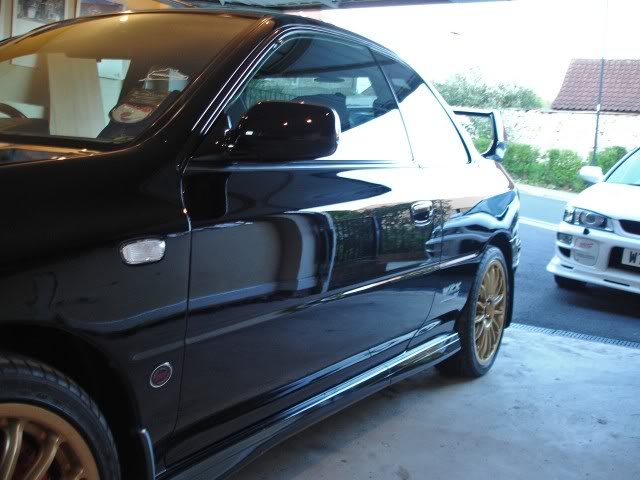
More photos:
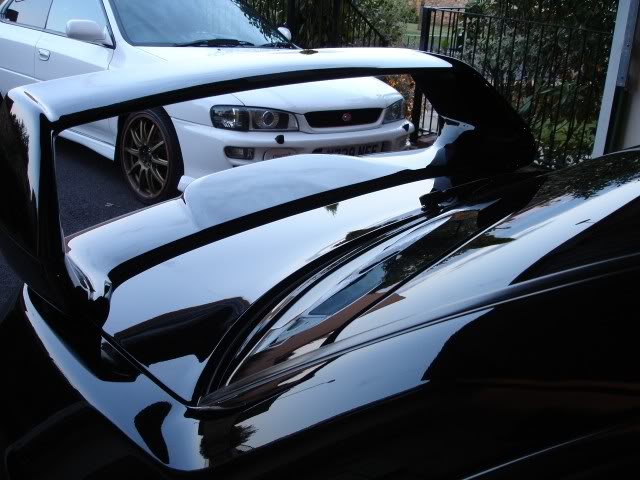
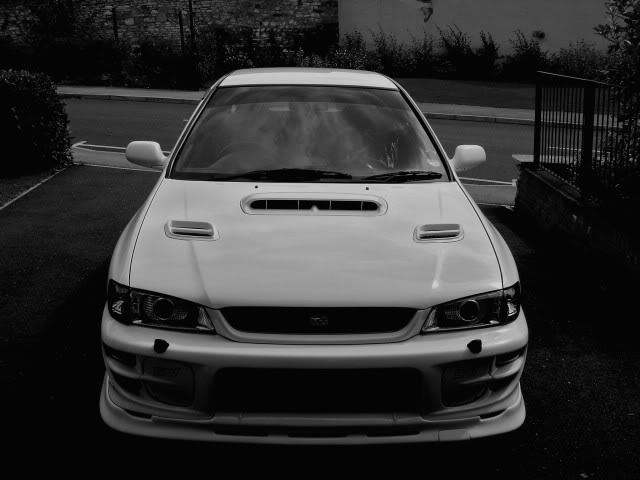
Notice how dirty the Impreza in the background is (almost black wheels), even though it looks quite clean? (Read below on the white Scooby)
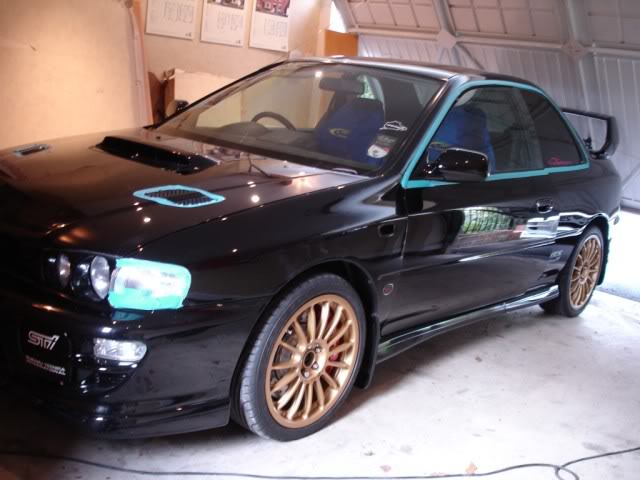
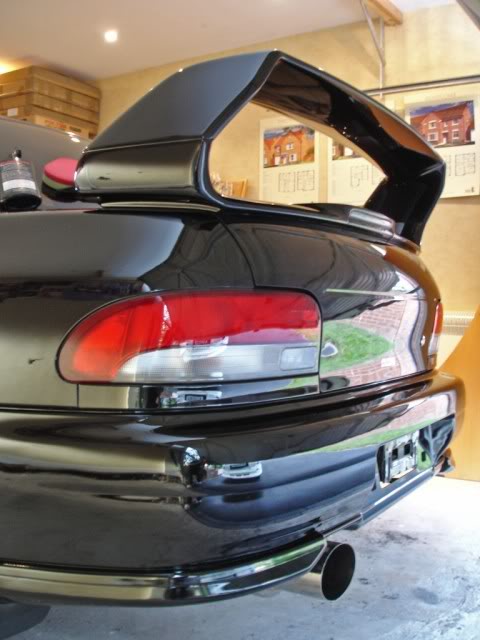
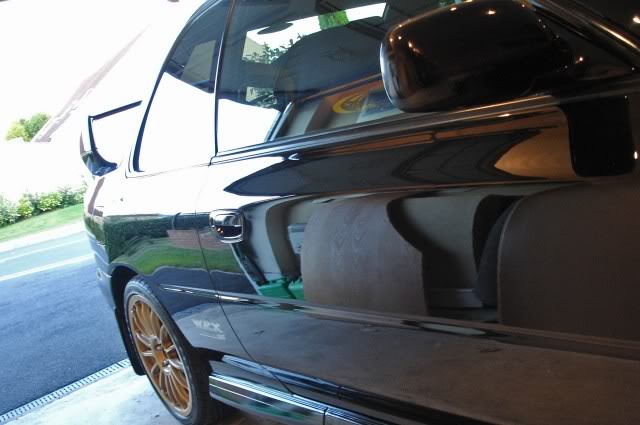
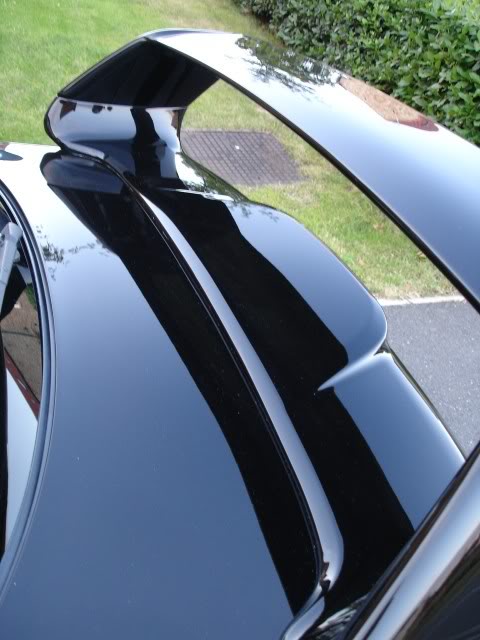
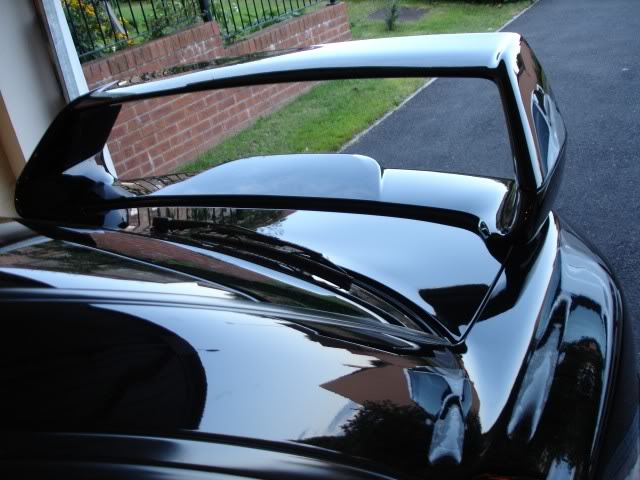
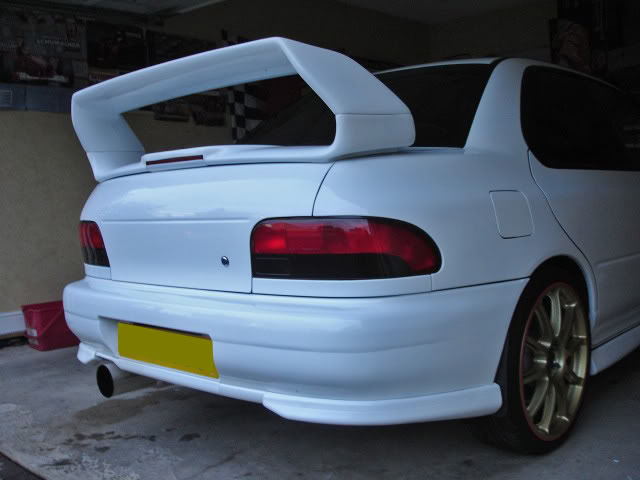
And one final reflection shot of the Type-R:
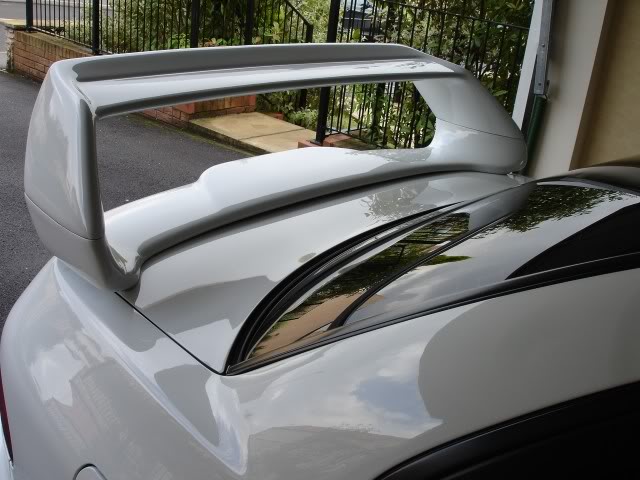
The license plates were also de-swirled, even though you can't see them!
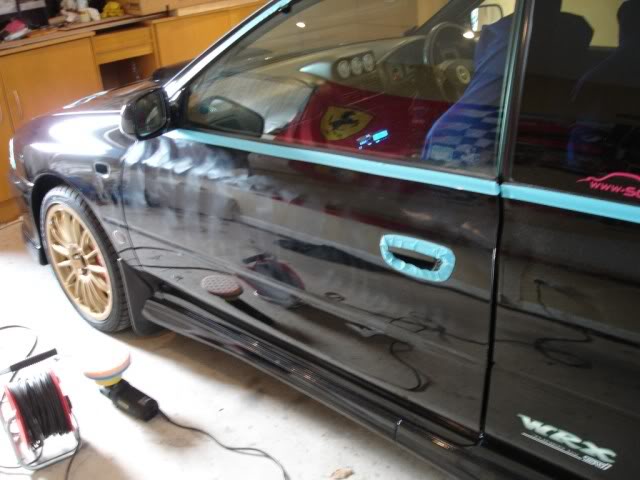
The tools used and techniques only serve as a guide, at the end of the day everyone has there own way of doing it and products available to them.
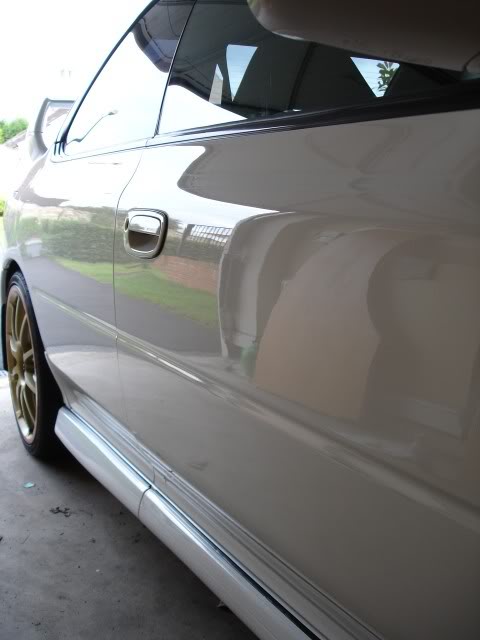
Remember seeing that white Impreza in the background of some of the photos? Well that was detailed after the black one.
Using the exact same techniques and products, the car was pressured washed and then snow foamed:
(Took the pic after the foam had done its job)
2 bucket method again:
Car was then clayed in the same way as the black one and washed again and dried with a Poorboys Waffle Weave Towel.
Now come the defects. Difficult to show them on white paint and under crappy lighting, but you can just make out the swirls:
Polishing stage, using Menzerna Intensive Polish and the Meguiars G220 polisher:
Again, the lighting didn't show how good the finish was:
Polishing stage was now over and the defects were gone.
Engine bay was next on the hit list.
As with my other car, I like to keep things clean, so you probably won't notice much difference. Cleaned with Meguiars Super Degreaser and dressed with 303 Aerospace Protectant.
Before:
After:

Moving back to the paintwork, time to get rid of the marring caused by the polishing stage. 3 coats of Blackfire Gloss Enhancing Polish were applied with a German Applicator Pad and buffed using Poorboys Deluxe Mega Towels. Then to seal the finish, 3 coats of Blackfire Wet Diamond All Finish Paint Protection were applied in the same method:
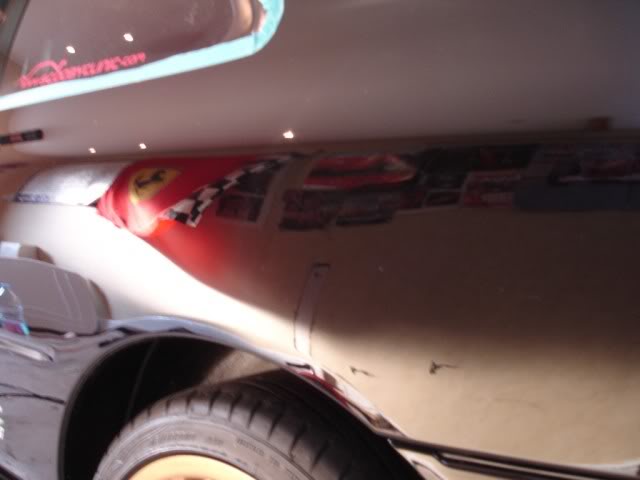
Earlier I had covered the engine bay with a dust sheet, as seen in this photo:
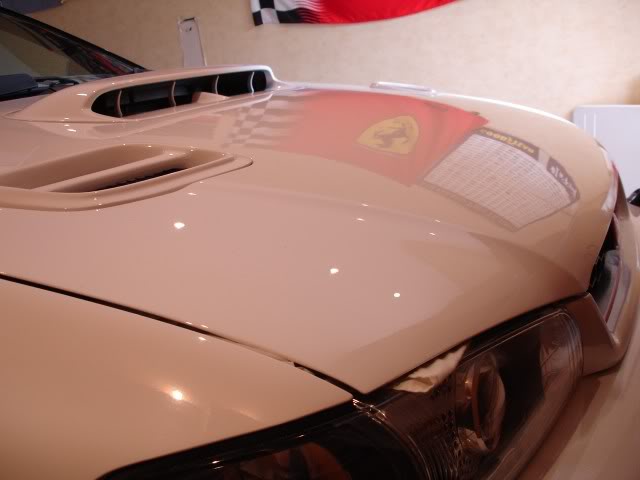
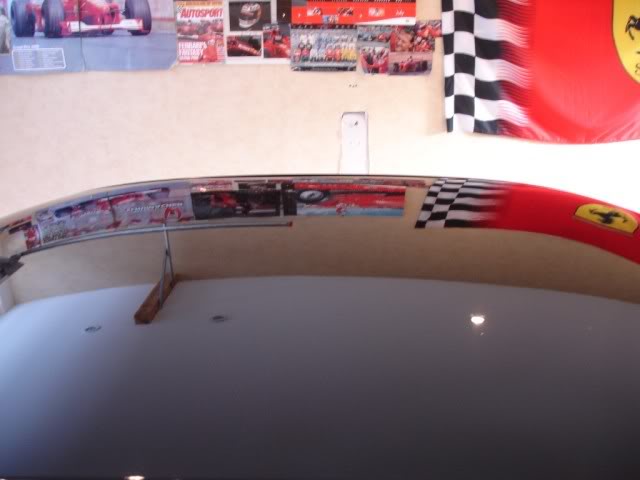
You can probably tell I'm a huge Ferrari fan.

Learning how dusty the Menzerna Intensive Polish was first time on the Type-R, I did the wheels last this time so they didn't get covered in white residue. Washed in the same way, using the 2 bucket method:
3 coats of Poorboys Wheel Sealant were then applied:

Notice how the pictures got darker each time. I think it was around 11-11.30PM by
the last pic. As with the previous detail, I will dress the tyres last.
Interior was the next thing to do. Vacuumed then plastics dressed with 303 Aerospace
Protectant:
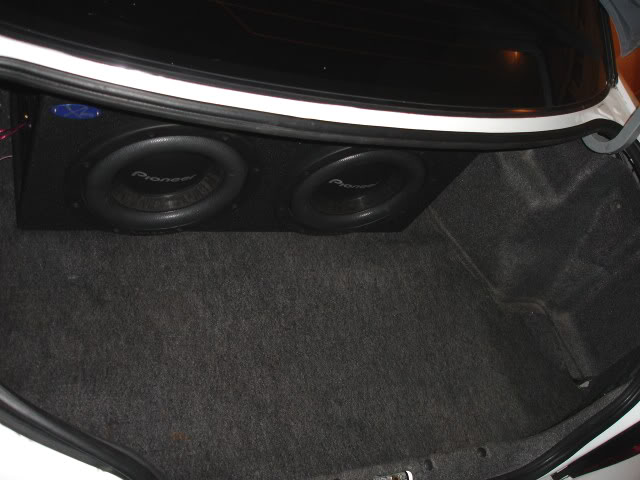
Also inside the trunk:
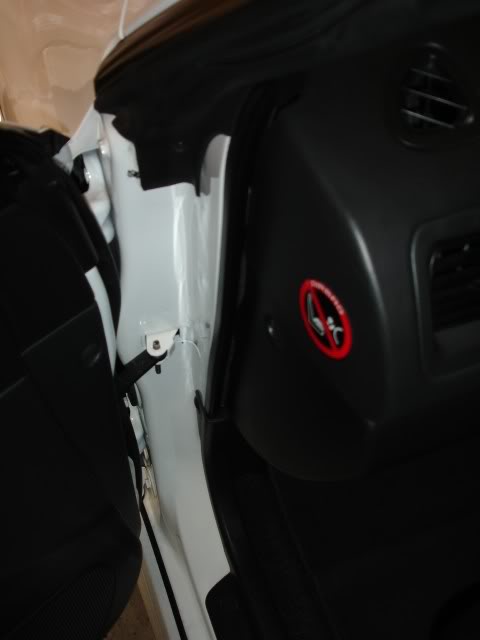
And a pic showing the door shuts, just to prove I didn't miss them out:
Now for finished photos. As with the previous detail, the weather was crap again. I had time to take some photos at the end of a day as the next day I needed the car for work so wouldn't have the time. Tyres were dressed with CarPlan 'Wet Look' Tyre Slik and glass cleaned with Meguiars NXT Glass Cleaner. License plates were also de-swirled:


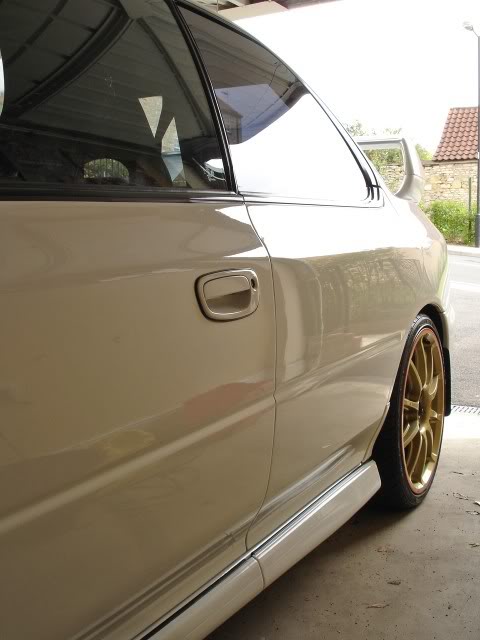

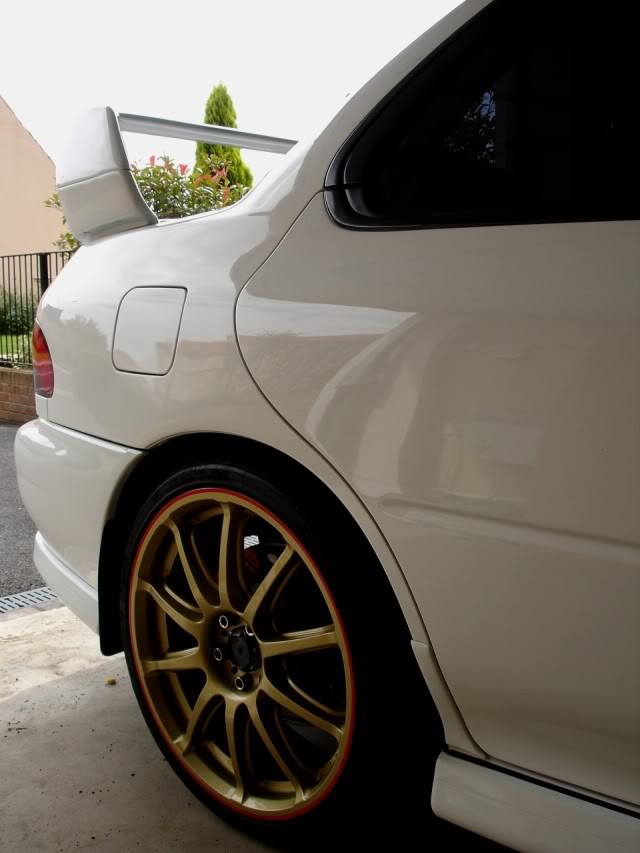


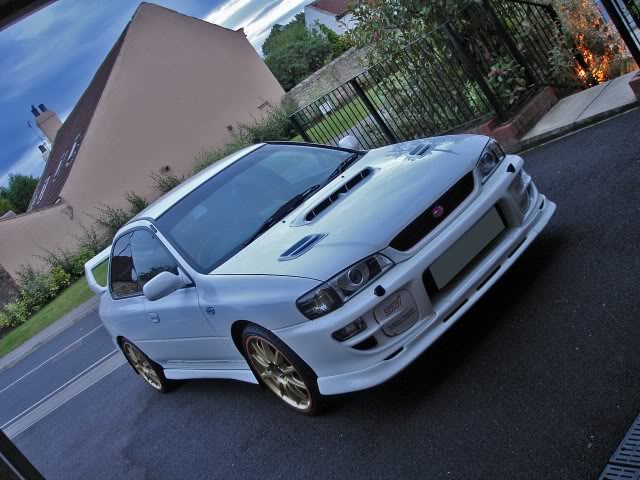
Got a few photos of the front end a few days after and it was still looking very clean:
(Nothing wrong with the windscreen on the nearside, just a black bag in the passenger seat)
By now you're probably thinking wow this car looks great! But we are not done yet, the exhaust is the next thing to do. We dismantled the exhaust and gave it a clean:
Before:
Tip before:
Tip after:
During:
Piping before:
During:

After:
Finished:
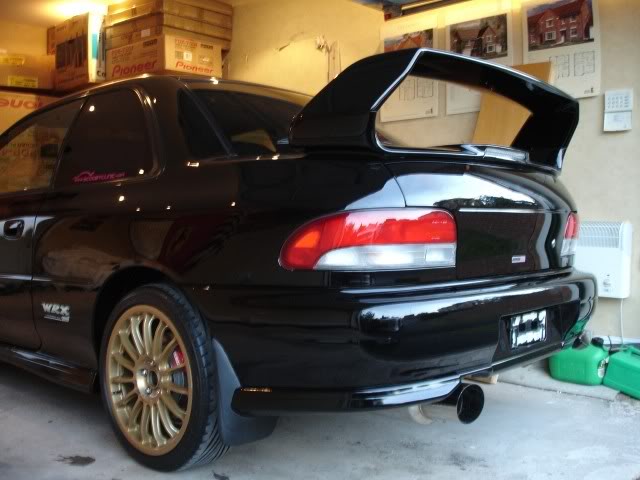
And both cars look great!